

Why Embroider on Toilet Paper?
Ive got to be honest, when I first heard of embroidering on toilet paper, I thought it was crappy idea (yes pun definitely intended). It seemed like home embroiderers were just grabbing random household items and stitching on them. I mean really, whats next the carpet?
But after I saw some of the cool projects others were creating, all of us here at the Embroidery Legacy decided to join in on the fun. So why would you want to embroider on toilet paper?
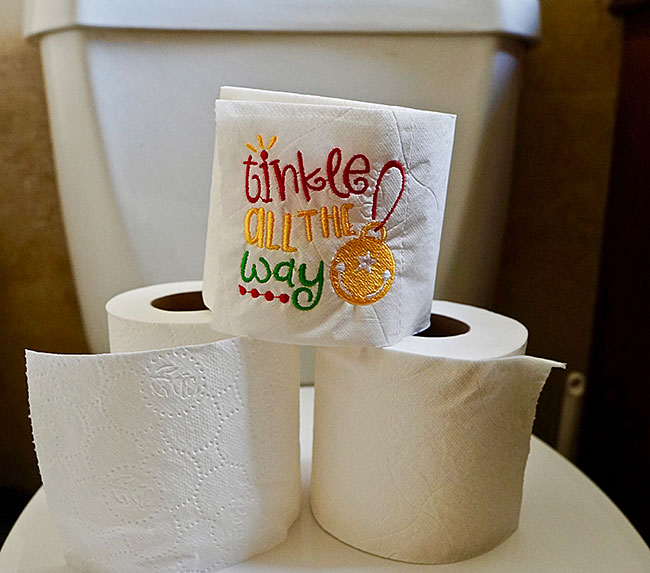
Because embroidering on toilet paper is a great way to add a personal embroidered touch to your bathroom. Whether youre decorating for the holidays, or just giving your guests something to chuckle about while going about their business, it really is just plain old embroidery fun.
How to Embroider on Toilet Paper
Now before we get started, I want to point out that the way were going to show you how to embroider on toilet paper is going to be different from how you may have seen others do it in the past.
This is a new way we created that holds the toilet paper more securely in place to increase the likelihood that the toilet paper wont break while being embroidered on. Lets get started!
Heres an easy to follow video tutorial weve created if you find watching an easier way to follow along and learn:
Of course, we do have the written instructions here as well.
Heres what youll need:
- Toilet paper (of course)
- No show mesh embroidery stabilizer
- Embroidery hoop
- Exacto knife
- Binder clips
- Felt pads
Tip: Use a higher ply of toilet paper to embroider on. Not only does it feel better to use, but it is also stronger which decreases the likelihood that it will break while being embroidered on. Both ways, its less of a pain in your rear end (Ok seriously, Ill stop with these jokes now).
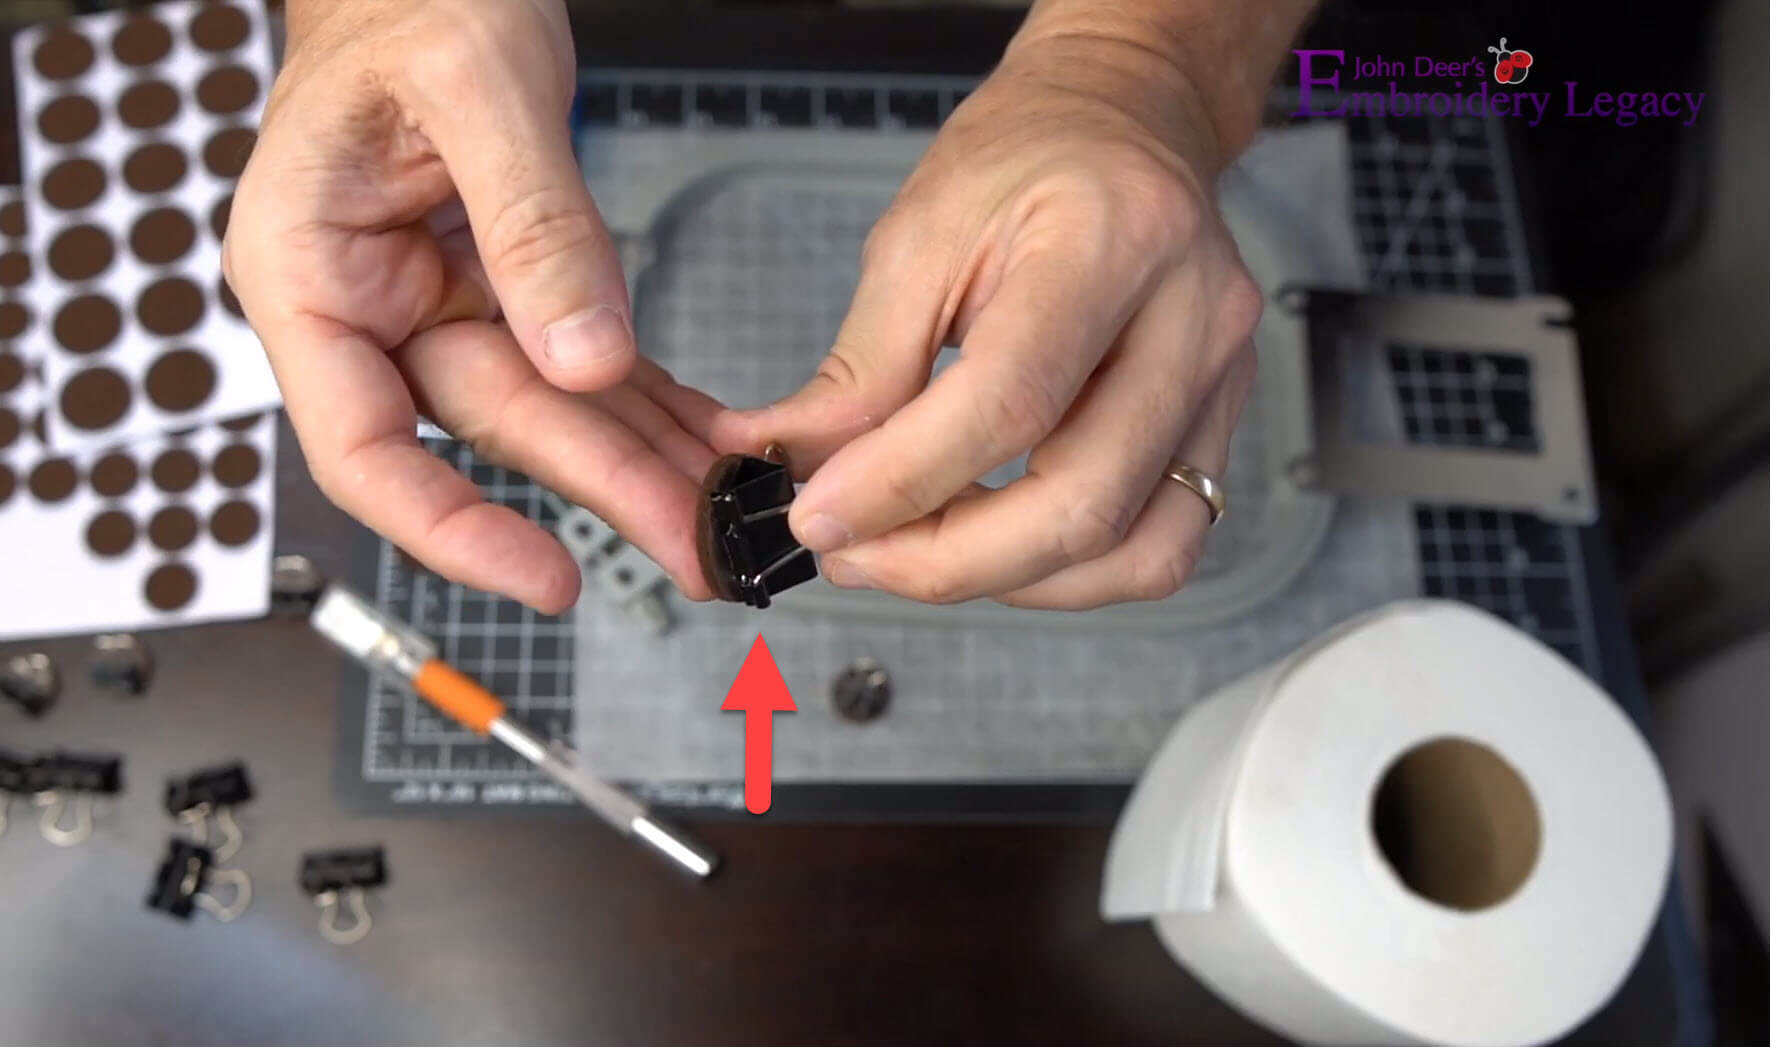
With the necessary items above, youll want to add a felt pad to one side of your binder clips (youll need 4 of these). This will allow the toilet paper to slide on the surface of the machine rather than catch on it.
Step 1: Hoop Your Stabilizer and run the placement stitch
This is rather self-explanatory: hoop your stabilizer and then make sure it is as tight as it possibly can be. Although we never recommend using a screwdriver to tighten your hoop as it can create hoop burn on your fabric, in this case, it doesnt matter as we will be cutting off the excess stabilizer afterwards. If youre unfamiliar with embroidery hooping, click here for a tutorial.
Once your stabilizer is hooped, place your hoop on the machine and start by embroidering the designs placement stitches.
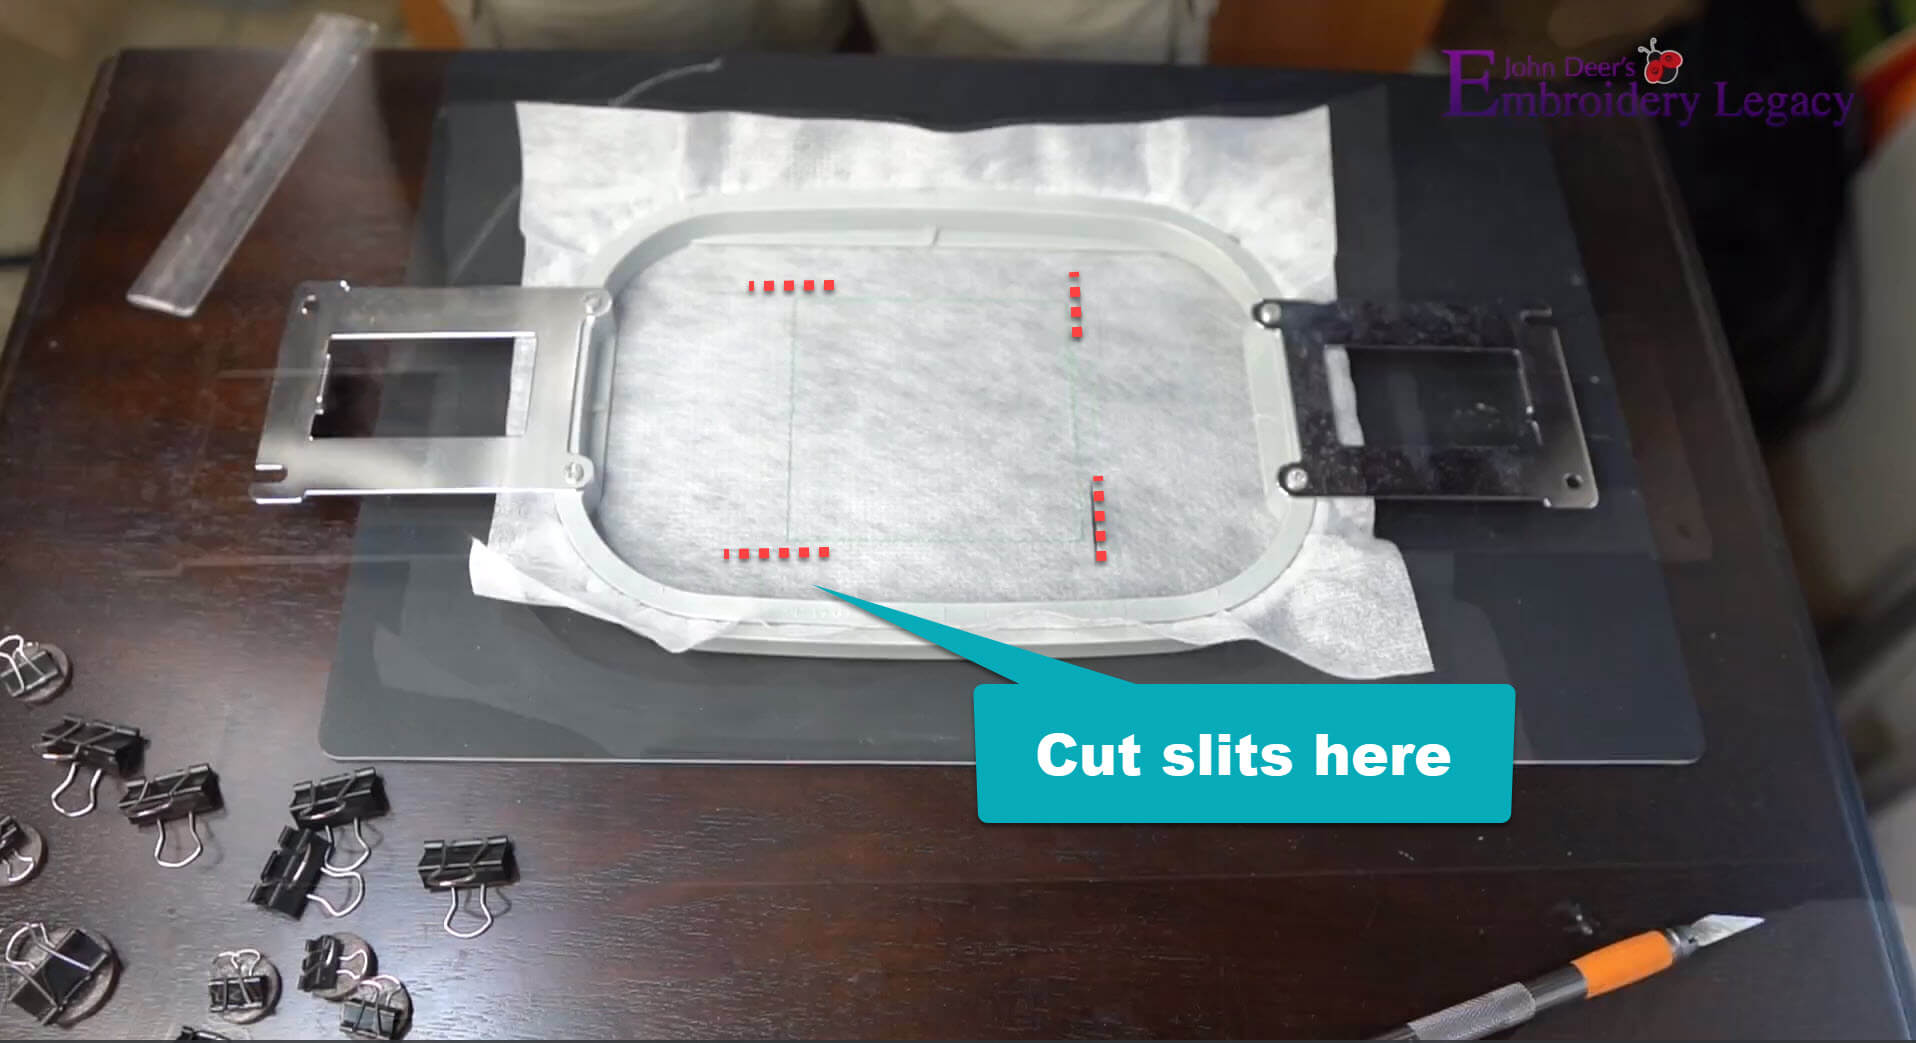
Step 2: Cut slits around the placement stitch to insert clips
Here you will be using your exacto knife to cut 4 small slits around the placement stitches so that your clips can be inserted. See the image below for exact details on slit placement.
Once this is done, youll take your toilet paper and line it up to the placement guide stitches. Next, youre going to very carefully take the clips you created and slide the felt piece underneath of the slit leaving the top binder clamp on top. Youll do this 4 times, once for each of 4 of the slits you cut.
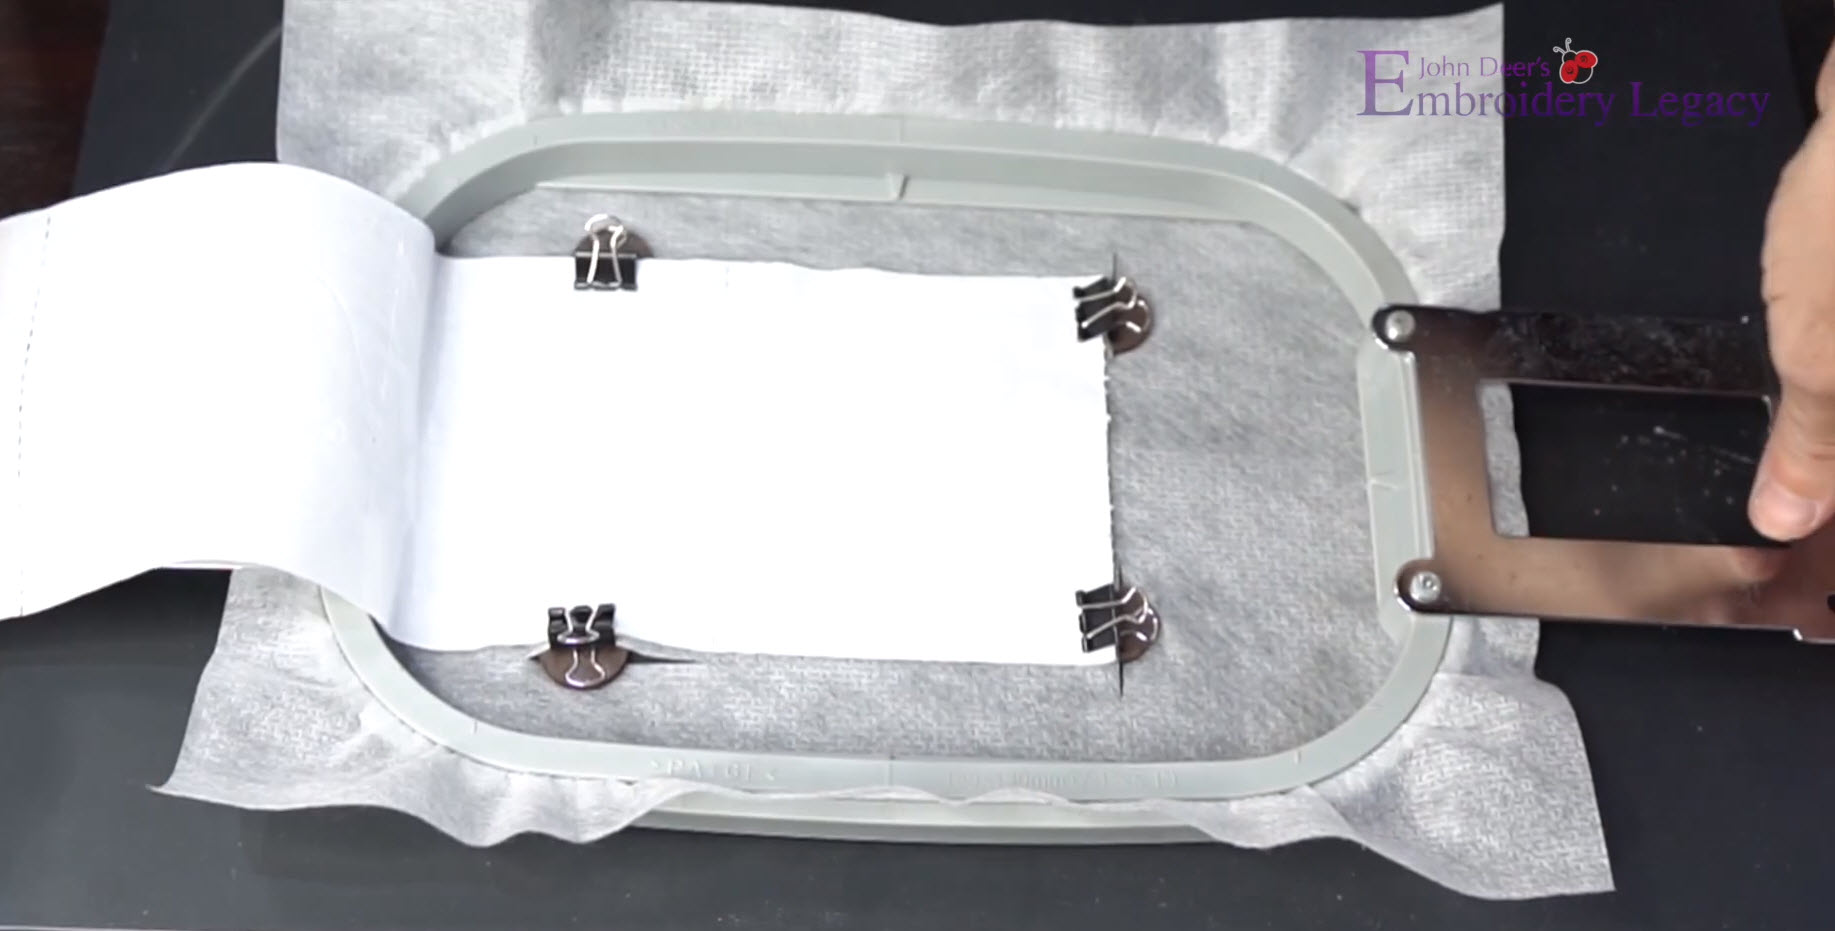
Your toilet paper should now be held securely in place.
Step 3: Embroider Your Design
Place the hoop back on your machine while being mindful not to tear the toilet paper. Then simply start stitching your design!
Step 4: Remove the Stabilzer and Roll Up Your Toilet Paper
Take the hoop off of your machine and very carefully remove the clips that are holding the toilet paper in place. Next remove the stabilizer from your hoop once again being careful of the toilet paper.
Once the hoop has been removed, take a pair of scissors and cut away the excess no show mesh stabilizer from the back of your design.

Once the excess stabilizer has been removed, we can roll up the toilet paper and carefully clean up any loose stitches that might be showing by cutting them away with scissors.
Thats it. Congratulations, youve just embroidered on toilet paper!
Be Careful, Not All Embroidery Designs Will Work With Toilet Paper!
Please keep in mind that not all embroidery designs were created (or digitized) to be embroidered on toilet paper!
Designs that are too dense or have to high of a stitch count will create too many needle penetrations and likely cause the toilet paper to tear.
Tip for Digitizers: If youre looking to digitize designs for toilet paper, be sure to digitize them with leather stitch settings in mind for low desinsity.
If you have an embroidery software program that allows you to select and adjust design properties for different fabric types, be sure to select Leather or Suede to decrease your designs density before attempting to embroider it on toilet paper. For example Hatch has a fabric assist tool that will allows you to adjust design properities for differnt fabric types. Click here to learn more about Hatch.
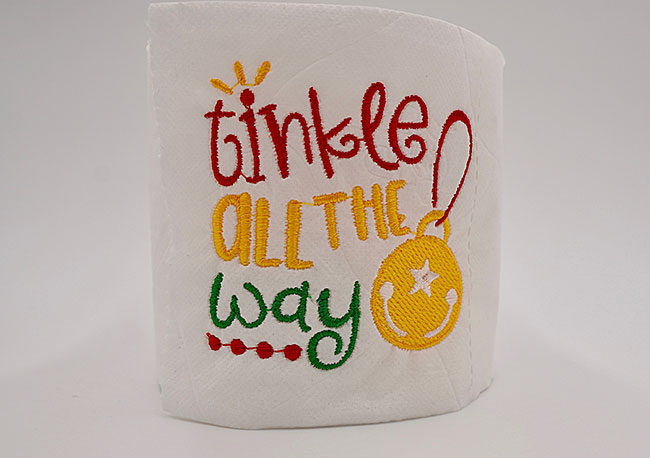
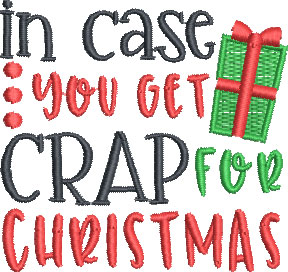
If youre looking for cute designs to embroidery on your toilet paper that wont cause it to tear, here are some festive designs we offer here at Embroidery Legacy that were digitized specially with toilet paper in mind.
Embroidery Legacy Toilet Paper Designs:


Conclsion: Embroidering on Toilet Paper Doesnt Have to Stink!
Ok you caught me, I had to do 1 more joke. I mean come on, how often do I get to write about this stuff?
Anyways, in conclusion if you follow the steps above you shouldnt run into any issues when embroidering on toilet paper.
Just be sure to take it slow, get 3 ply toilet paper and use designs that were digitized with the proper low desinity stitch settings in mind so your embroidery machine doesnt tear your toilet paper to shreds.
P.S. If you enjoyed this article please let us know by leaving a comment below. Also if you havent already given our designs a try, click here to access 4 free Embroidery Legacy designs with our free trial. Happy stitching!