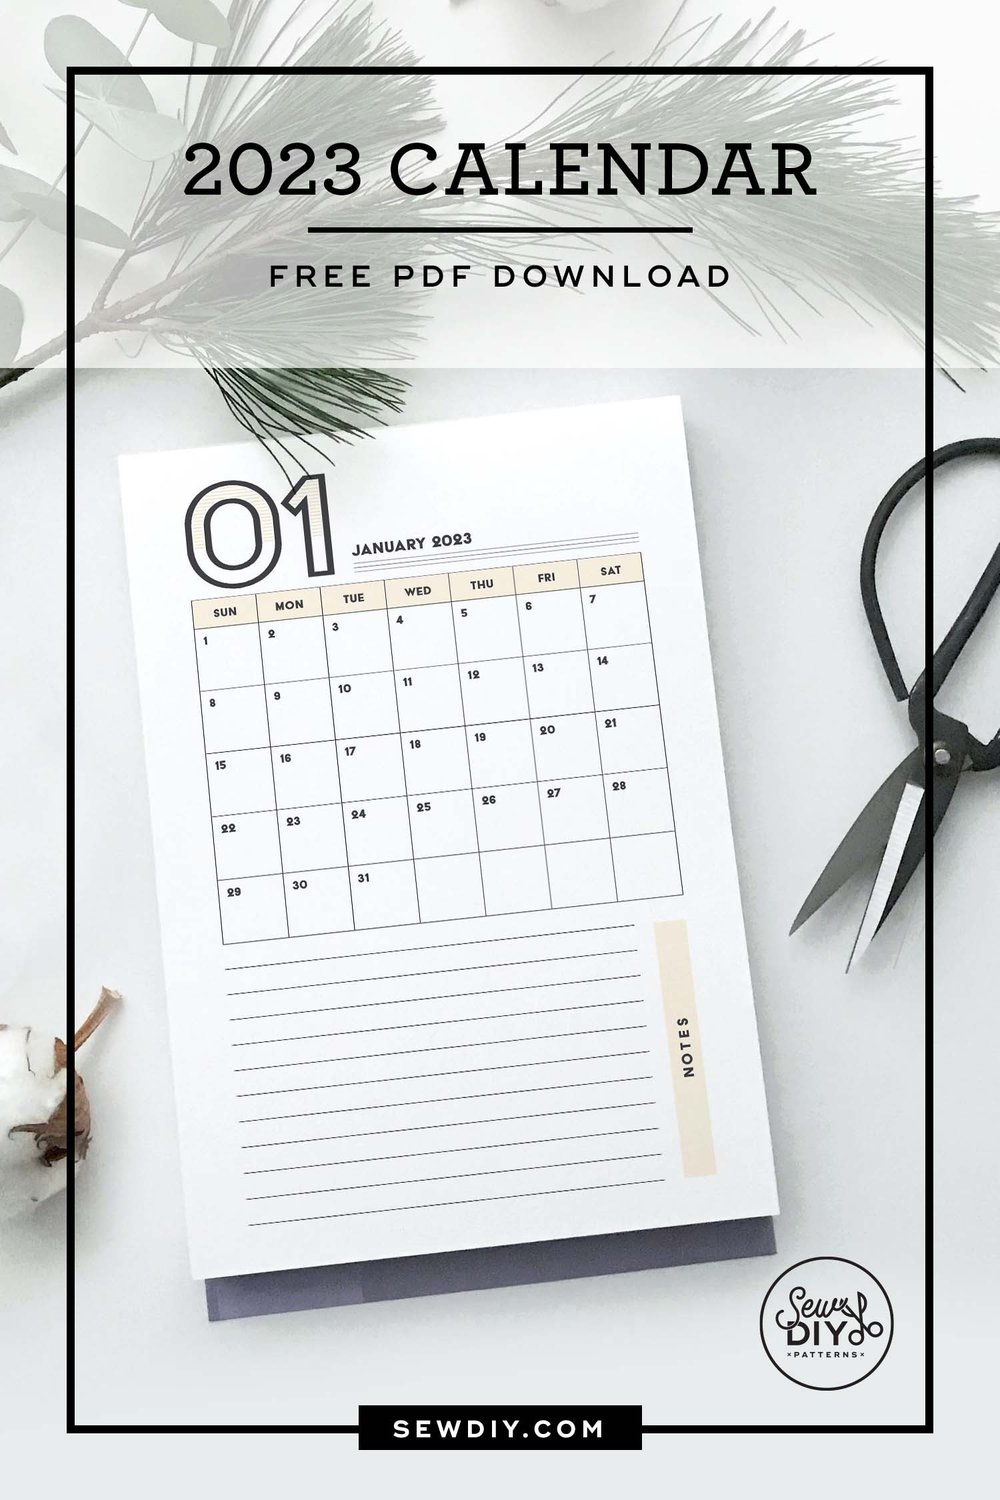
Hello sew-friends! Today, I'm very pleased to share that my annual printable calendar is back for 2023. I think we can all agree that one of the best things about the start of the new year, is getting to start a fresh calendar. Possibilities are endless and everything feels packed with fresh potential.
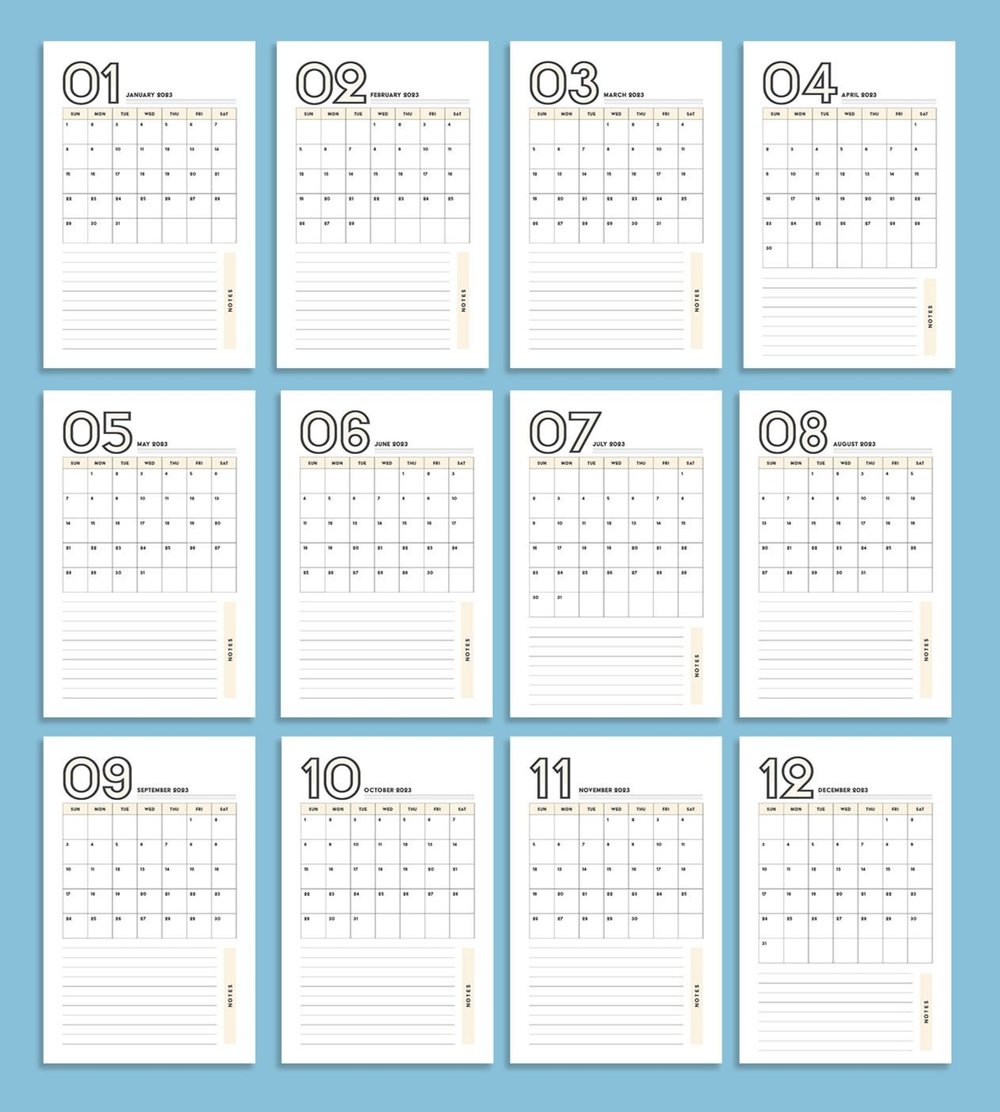
I’ve been making a version of this free printable calendar for a number of years now (maybe over ten years now!?!). This year, I had fun playing around with some new fonts. The decorative font I used is called Acier Bat. (If you have Adobe CC and like this font, it’s available via Adobe Fonts.) I love the geometry of the font and that it is reminiscent of Art Deco styles. The number twos are very distinctive too!
Over the years, I've learned that my calendar needs to be flexible. Like many creative people, I have many more ideas than I have time to do them all. To make my physical calendars more flexible, I use sticky notes that can be shuffled around and erasable ink pens. I love the Frixion Earasable and Refillable pens because they actually erase really well, they write well and it feels more environmentally friendly that I can refill the ink.
That said, one of the great things about a printable calendar is that you can re-print pages as needed. You can even keep one calendar for tracking sewing, for example and another for birthdays, events or tracking other hobbies.
A great way to use a calendar for sewing is to record the projects you started, worked on or finished during the month. Read on for all the details, including how to download the calendar for free.
How to download the calendar
The printable calendar is free to download when you sign up for the weekly newsletter. When you sign up, you'll get a link and password to the Sew DIY resource library. The password will give you access to a web page where you can download the calendar as well as all the pdfs and pattern add-ons that are used in our tutorials. When you go to the Resource Library, scroll down to the "Printables" section.
If you’re not on the newsletter yet, you can sign up below. It may take up to 15 minutes for the email to arrive in your inbox. If you don’t see it, try checking the spam box. (If it does end up there, you can add help@sewdiy.com to your contacts list to prevent it going there in the future.) If you are already signed up for the newsletter, you don't need to sign up again. Just check your email for the latest newsletter to find the link and password.
(Please note the calendar is for personal use only and not for profit or resale.)
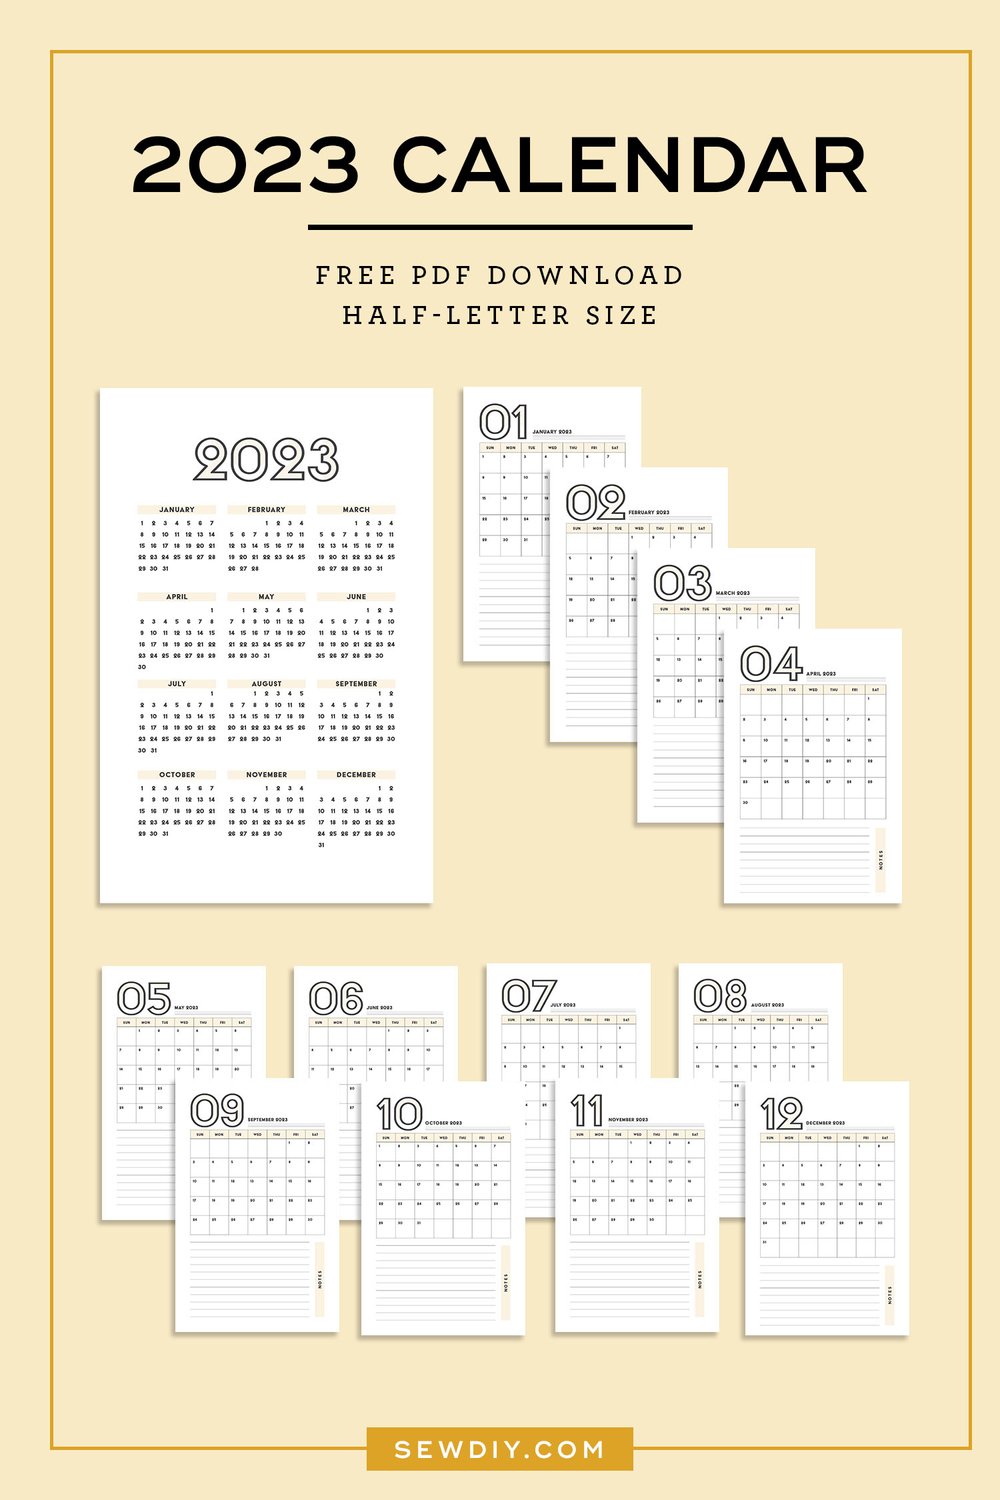
This year, the calendar includes a half-letter size in three layouts. Two layouts have each page individually and the third has two months next to each other on one page. Here's a rundown on the different printing options:
If you are printing on Letter size paper:
Option 1: Use SewDIY-2023-Calendar-HalfLetter.pdf and select “Scale to Fit” when printing, for a calendar that fills the entire page.
Option 2: Use SewDIY-2023-Calendar-HalfLetter-2up.pdf to print two calendar pages per piece of paper. After printing, cut each page through the center to have half-letter size pages. This file are set up to work with double sided printing so they can be used in a planner.
Option 3: Use SewDIY-2023-Calendar-HalfLetter-CropMarks.pdf to print a single calendar page per page. Trim the calendar to half-letter size using the crop marks as a guide.
If you are printing Half-Letter size paper:
Option 1: Use SewDIY-2023-Calendar-HalfLetter.pdf to print a calendar that fills the entire page. No trimming needed. These files can also be used to print a double sided calendar.
For tips on printing, check out this post.
HOW TO PRINT THE FREE 2023 CALENDAR
SUPPLIES
2022 PDF Printable Calendar (See details above about how to download.)
Card stock in preferred size (4-14 pieces of Letter or Half-letter)
Cutting implement of choice: Metal Ruler & Utility Knife or Paper Trimmer
Hole Punch (optional)
INSTRUCTIONS
STEP 1: Open the PDF calendar and load your printer with card stock. (Note, if you are printing Half-Letter 2-up you will need to load Letter size paper. And, if you are printing A5 2-up, you will need to load A4 paper. See above for more info on paper sizes.)
STEP 2: Print out the calendar. For tips on printing, check out this post.
STEP 3: If printing 2-up, cut down the middle of the paper using your preferred method. If printing with crop marks, align your ruler to the crop marks and cut from one mark to the next, without cutting all the way through the paper. Repeat for all four sides.) I prefer to use a straight edge (a quilting ruler or a metal ruler will do) and a utility knife but you can use scissors or a paper trimmer if you prefer.
STEP 4: If desired, use the hole punch to make holes along one edge of the calendar for use in a ring binder. Or make one hole at the top to hang it on the wall. You can also use a binder clip to keep all the pages together and hang
 Printable Sewing Planner PDF Download
$7.95
 Printable Sewing Planner PDF Download Design 002
$7.95
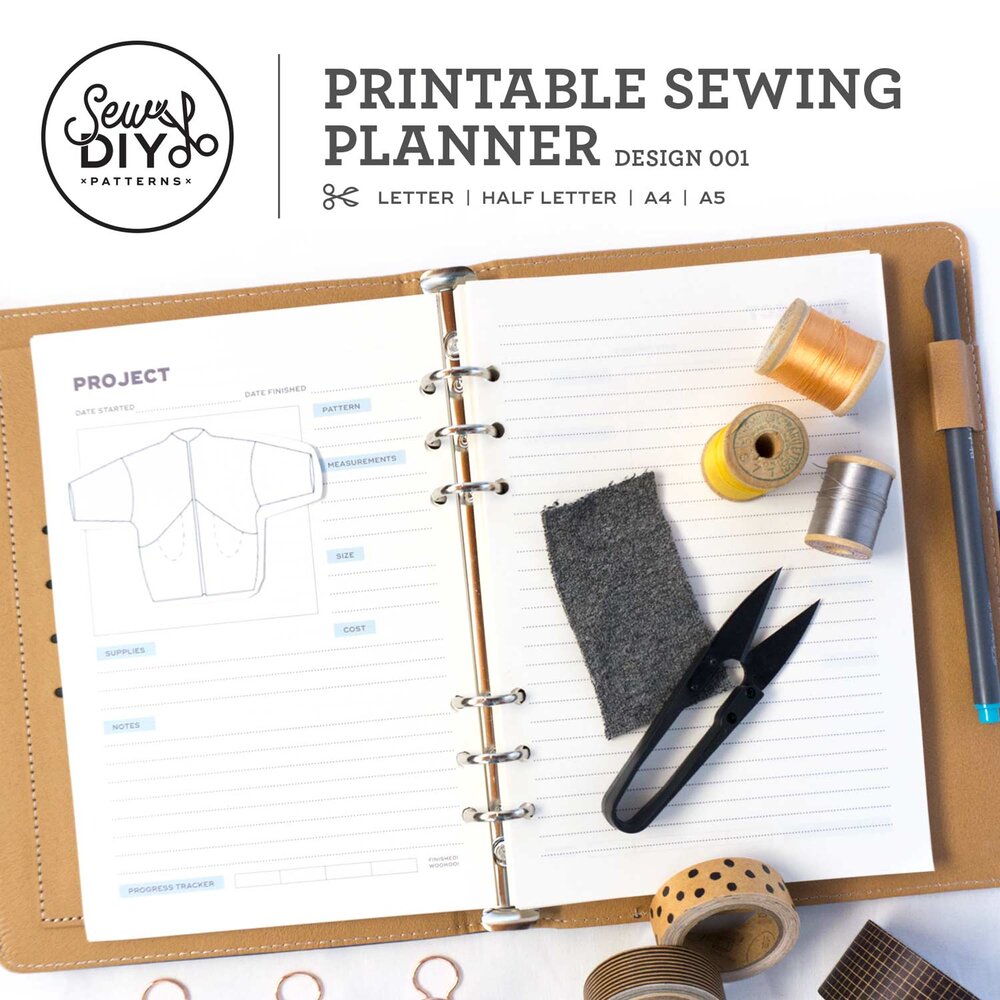
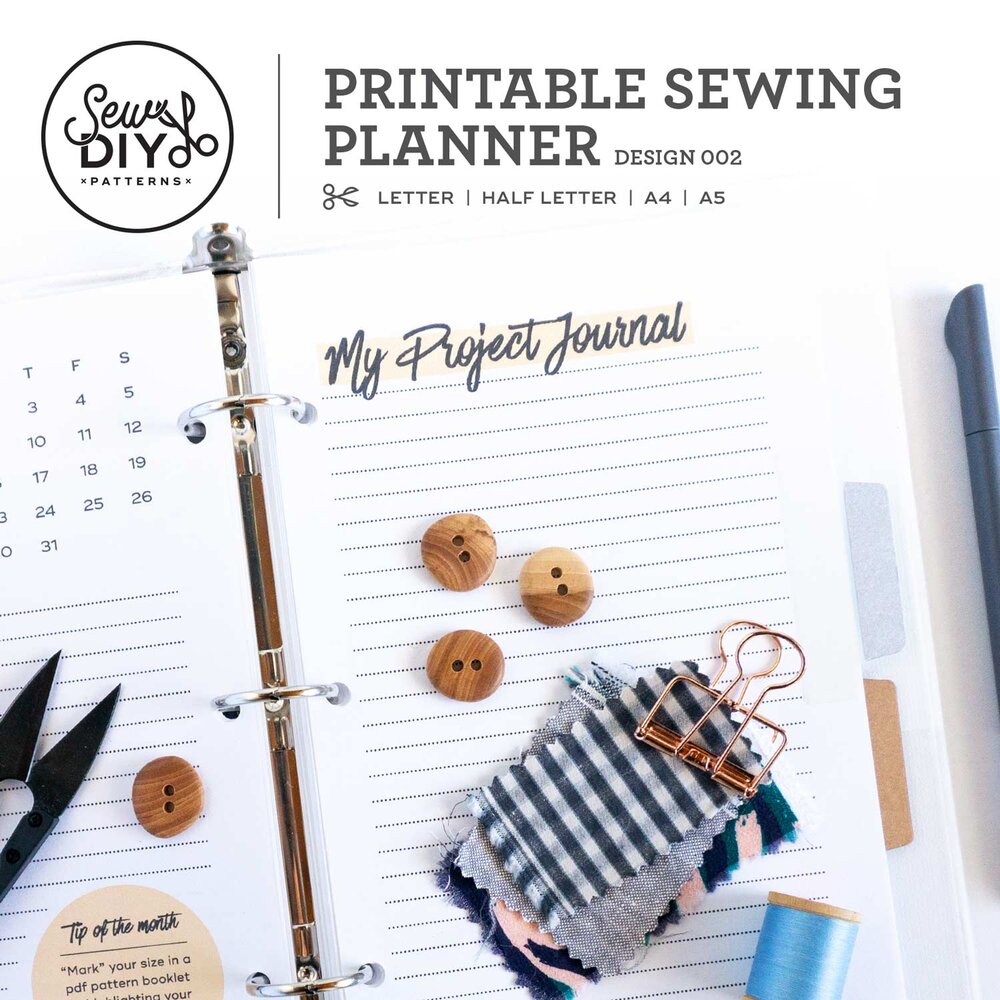
If you don't have one already, you might enjoy using our printable sewing planner. There are two design options. They each have the same pages, but different fonts and colors. Design option 1 uses blue as a highlight color and sans-serif fonts. Design option 2 uses yellow and a script font along with the sans-serif. You can check them out above or in the shop here.
I hope you enjoy your calendar and don't forget, if you share it on Instagram, use the hashtag #SewDIYCalendar.
