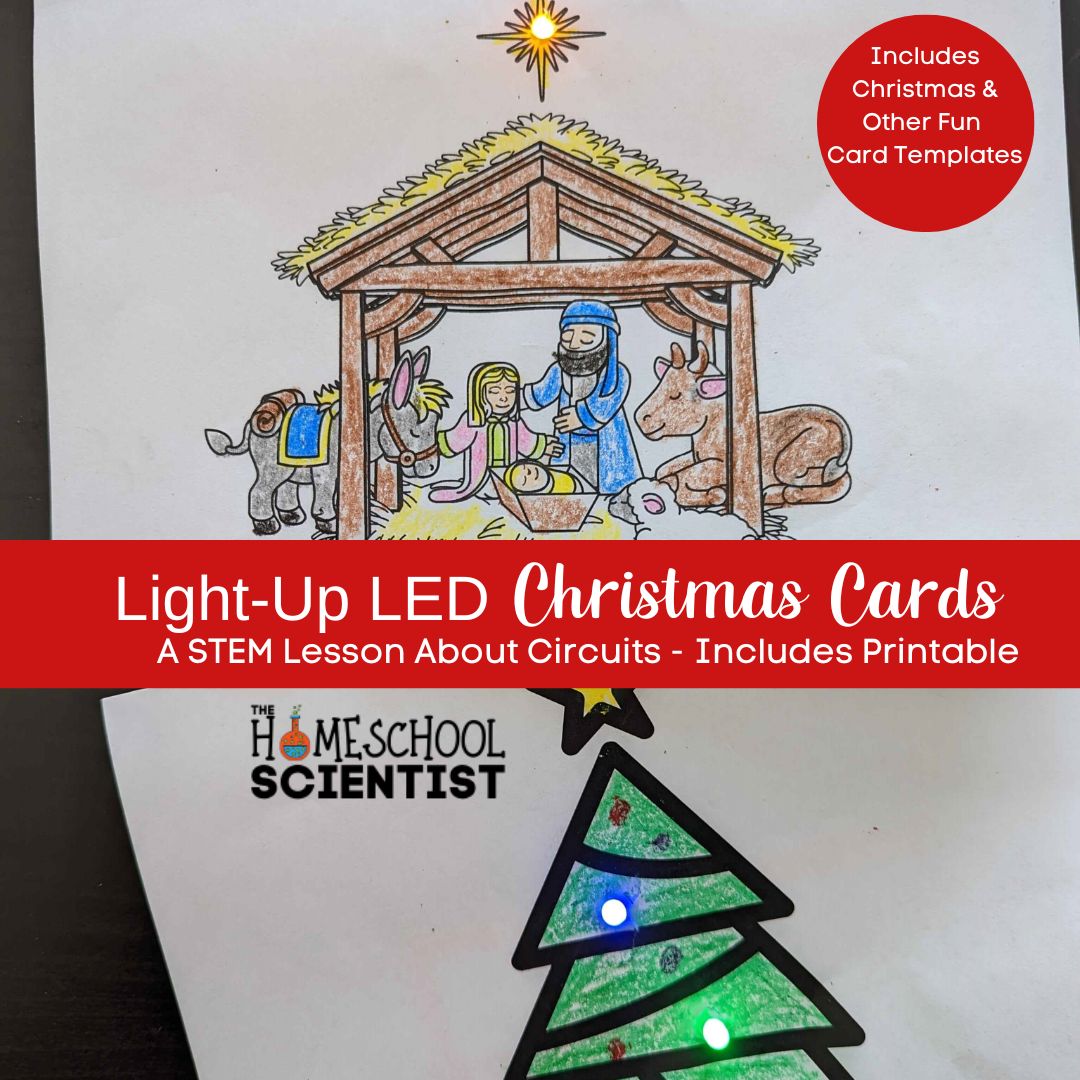
In our build a circuit lesson, your children will learn what electricity is, how it flows, and how simple, parallel, and series circuits work. Plus, they’ll make some fun light-up greeting cards. (Or you can use the templates for something other than greeting cards.)
Before starting our build a circuit lesson, request the templates and circuit printables. The sign-up box is below.
The templates include Christmas templates, a birthday cupcake, a robot, a police car, and several houses. Use these as greeting cards or display on a bulletin board or refrigerator.
Have your child create their own template and just have fun discovering how circuits work.
Table of Contents
Request the Printables
Enter your email below, and we’ll send you the templates and circuit printables. You will be added to our email community. If you’re already in our community, no problem! You may unsubscribe at any time by following the links in our emails. Thanks!
Build a Circuit Lesson – A Little Bit About Electricity
When you think of electricity you probably think of being able to plug in a computer, microwave, or hair dryer and have it work instantly. This is only an effect of electricity. Electricity takes place on a very small level. Electricity is defined as the flow of electrons from one molecule to another within a substance. In order to understand this definition you must first understand the smallest known particle, the atom.
Have your student(s) research and write down the definitions of:
- Atom
- Molecule
- Electron
- Proton
- Nucleus
We have included links below to resources that have more detailed explanations and diagrams showing how electricity works.
Build a Circuit Lesson – The History Behind Electricity
Have you ever stopped to think about how different your life would be without electricity? Imagine a world without television, computers, refrigerators, or even lights. This is what life was like approximately one hundred and fifty years ago. Although Benjamin Franklin is credited with discovering electricity in 1752, other important people in history also played a large part in its discovery.
Maintain a timeline of the history of electricity by researching the following scientists and their findings. Draw a small picture representing the scientist, such as a magnet, light bulb, or machine. Place the information you have collected on the timeline.
- Thales of Miletus
- Pliny the Roman
- William Gilbert
- Otto Von Guericke
- Stephen Gray
- Charles Francis DuFar
- Benjamin Franklin
- Luigi Galvani
- Alessandro Volta
- Hans Christian Oersted
- Andre-Marie Ampere
- Georg Simon Ohm
- Michael Faraday
- Samuel F. Morse
- Joseph Henry
- Alexander Graham Bell
- Thomas Edison
- Nikola Tesla
Build a Circuit Lesson – Alternating and Direct Current
Today we use electricity in two different forms; AC or alternating current and DC or direct current. Alternating current is produced in power plants around the country, providing power to homes, streetlights, hospitals and most other areas requiring electricity. When you use a power cord to power a television, laptop, gaming system, hair dryer, etc., you are plugging into alternating current.
Electricity takes many steps on its way to your home. Electricity is generated in power plants and travels to a transformer where the voltage is increased. Increasing the voltage lowers the current. This is important because it gives the extra drive needed to travel long distances while traveling at a lower current, thus decreasing the loss of energy. Electricity is sent along high-tension power lines to substations. From here electricity is relayed to your home.
The flow of current in an AC circuit travels much like water in a bottle that is being tilted from side to side. It is constantly changing polarity from negative to positive and back again. The current moves back and forth like a wave, but much faster. Alternating current is in constant motion and flows in one direction at a time. The term alternating means to change direction.
Alternating current is very dangerous and should only be handled by a licensed electrician. Electricity can kill if used improperly.
Look up the following scientists and add them to your timeline. William Stanley, Jr. , Nikola Tesla, Charles Proteus Steinmetz.
Direct current, DC, is typically stored in batteries The flow of direct current is best illustrated by envisioning the flow of water in a water hose. We can’t see it, but we can see the effects of its flow.
How Does Electricity Flow?
When we discuss electricity we use two basic, yet important, terms: voltage and current. The directed flow of electrons from negative to positive is known as current. For many years it was believed and taught that electrons flowed from positive to negative. However, it is now known that electrons flow from negative to positive. Current cannot be seen, but we know it is present because current can be measured by using an ammeter. An ammeter measures the current flow in units known as amperes or amps. In order for current to flow two things are needed, a complete circuit and a supply of energy. You will be building a complete circuit with batteries as your energy supply later in this unit.
Build a Circuit Lesson – Complete Circuits
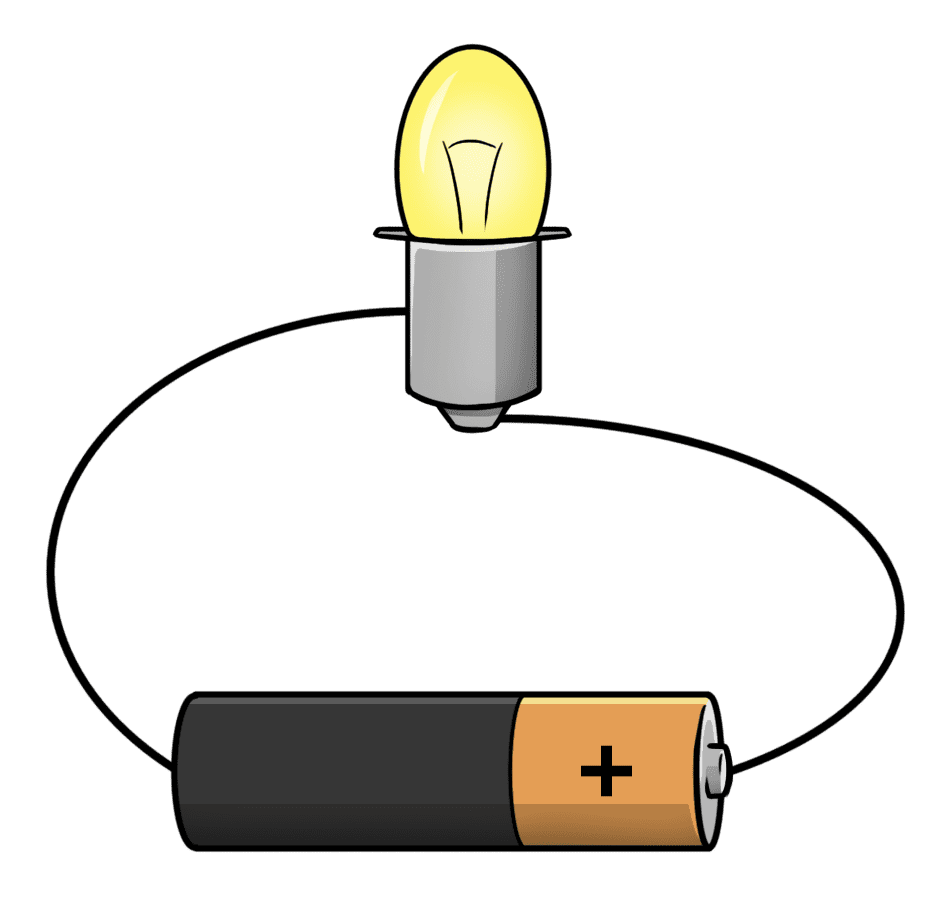
In a complete circuit the direct current flows from its power source, or battery, back to the same power source in order to form a complete simple circuit.
The electrons flow from the negative connection of the power source or battery, through the wires and LEDs, back to the positive side of the power source or battery.
If one end of the circuit is not connected, current will not flow. You will learn more about the flow of direct current as we make the LED greeting cards. Direct current must have a complete circuit in order for it to work properly.
In the greeting card projects, the circuit is complete when the flap with the copper wire is bent up toward the positive side of the battery. Then, the LED will turn on.
Follow the guide lines on the manger template, the first Christmas tree template, the first house template (for the light over the door), the first robot template to build a complete circuit.
On the very last step, when the corner of the template is folded so the copper tape touches the battery, then the circuit is complete and the light will turn on.
Note about the LEDs:
Take an LED out of the packaging. Notice how one wire is shorter than the other?
The shorter wire is called the cathode. It is the negative side of the LED. You may want to color it with permanent marker as a reminder. We used a black marker, should you notice the coloration in the photos. The positive side is called the anode. We use a + to indicate positive.
The cathode (negative side, indicated with a – ) should always face the side of the tape the battery is coming from. This will make more sense as your student starts to build their circuits. They’ll become pros in no time!

- Make sure you are connecting the negative side of the LED to the negative flow coming from the battery. The negative side of the battery should be touching the copper tape that is adhered to the card.
- Make sure the leads on the LED lights are touching the copper wire.
- Check for gaps in the copper tape that is attached to the paper. It should not be too creased or have any torn areas.
Materials Needed to Build the Circuits in This Lesson
You just need a few items that you probably do not have on hand, but the purchase is so worth the fun!
Please keep all of these items away from small children. See the note about the CR 2032 batteries.
You’ll need:
- Copper foil tape found here. This tape can be tricky to work with, but when the circuits work, the excitement is worth the learning curve!
- LEDs found here.
- CR2032 batteries – WARNING: This package is treated with a bitter coating to protect small children.
Build a Circuit Lesson – Simple Circuit Light-Up Card
Build a Circuit Lesson
Equipment
- 1 roll of copper foil tape One roll is enough for 4 students doing 1 project. I don't recommend skimping on the tape, as this is an engaging activity and one your kids will want to experiment with.
- 2-3 packages of LEDs Purchase multiple colors...it makes it so fun!
- Scissors
- 2-4 CR2032 Batteries Available on Amazon or at CVS, Walmart, etc.
- Cardstock or white paper We used white paper, and it worked fine. But cardstock makes a nicer presentation when giving as a gift.
- Crayons or colored pencils
- Tape Optional
- Permanent marker Optional for marking the cathode side of the LED.
- Binder clip
Instructions
-
Print the card template according to the directions in the file. Print on cardstock or plain paper.

- Fold the card along the dotted line and color the design on the front of the card.
-
Follow the wide lines on the circuit "template" and cut copper tape to cover the gray lines. Or you can roll the tape as you move around the card. See the next step to review how to handle corners.

-
Start with the battery area and place the tape. When you get to a corner, you can either make a neat fold and use one contiguous piece.

- Or you can cut strips to fit each line and make sure the pieces over lap on the corners. Either method works.
-
Once tape is applied, flatten the wires on the LED out to each side. Mark the short side (the cathode or negative side) with permanent marker.

-
Tape each wire of the LED down to the copper tape. We used another piece of copper tape to adhere the wire. You can also use clear tape.

-
When the LED is in place, tape your battery on top of the copper tape with the negative side down touching the copper tape. This will connect the negative side of the battery to the negative side of the LED.

- Fold the corner tab with the copper tape up to touch the positive side of the battery. You will need to adjust the fold to get the circuit to complete. Once you make the connection, use the binder clip to hold the connection securely.
- If the lights don't work, check to make sure the negative (short side of the LED is connected to the battery side of the circuit. Also check for any gaps in the copper tape.
Build a Circuit Lesson – Building a Parallel Circuit Light-Up Card
A parallel circuit is used when two or more items need to be supplied with the same power supply but function independently.
To build a parallel circuit using the card templates, use the Christmas tree card with the two lights.
Build a Circuit Lesson – Building a Series Circuit Light-Up Card
A series circuit is used to power more than one object at a time from the same power supply. One switch is used to control everything on that circuit. Notice in the diagram below that the two light bulbs are powered from the same battery.
Here is a photo showing how to light up the robot’s top light and two eyes. You will need two batteries stacked on each other to complete this challenge project. One battery is not strong enough to power three LEDs.
After making this series circuit, challenge your student to build a series circuit using the template of the tall house. Put lights in the top two windows using a parallel circuit.
Learning about circuits is best done hands on! Use the templates in this build a circuit lesson or have your student create their own template. Use the completed project to explain how circuits work to others.
Other Resources to Enhance the Build a Circuit Lesson
Energy Explained – from the US Energy Information Administration – clear explanation of electricity with diagrams
EIA Eneregy for Kids – for elementary grades
How Energy Works – from Duke Power Company


