This shop has been compensated by Collective Bias, Inc. and its advertiser. All opinions are mine alone. #ZiplocBackToSchool #CollectiveBias
It’s here! It’s finally here! IT’S BACK TO SCHOOL TIME, and I am super excited!
Let me start by saying that I love my kids. Really, I do. This has been my first summer working from home, and while I knew there would be some distractions, I didn’t know how BIG those distractions would be.
It’s really hard to get anything done when someone is constantly asking if they can eat a snack, go to a friend’s house, or watch a movie. I tried giving them the safelists, if you want XYZ you don’t have to ask. But they no longer wanted XYZ, they wanted ABC and D!
Summertime really makes me appreciate teachers, and the way they put up with kids and all of their crazy questions. Anyhow, since back to school is just around the corner, I thought I would share 4 tips to be ready for back to school.

More Craft Tutorials:
Crafting is so much fun when you make something that you can keep for yourself or give as a gift! We have many crafty tutorials we’d love to share with you. Like How to Start a Smash Book, this Dog Chew Toy out of Old Tshirts, and The Best Handmade Lotion Recipe.
Be sure to look around the blog for more fun craft tutorials!
DIY Pencil Pouch:
A pencil pouch is on my kids’ supply lists every year. They can be either the kind that have the holes and slide into a three-ring binder, or a loose pencil pouch. Whichever you need, this is a fun tutorial that even your child, tween, or teen can get involved in and add their own style and personality to.
Supplies Used:
This post contains affiliate links.
- Gallon Size Ziploc® Storage Bag
- Transparent Tape
- Designer Duct Tape (I used glitter tape)
- Hole Punch
- Scissors
- Sheet of 8 1/5 three-hole-punched paper
To begin, you need to figure out how big you want your pencil pouch to be. I want mine to be about the size of an 8 1/2 x 11-inch piece of paper. Using a sheet of paper as a guide, I lined up the bag with the piece of paper, making sure the easy open tab of the bag extended just a bit past the piece of paper. Fold the bottom of the bag up so it is the size you want and secure in place with a strip of tape.

Take your designer duct tape and apply a strip along the bottom where it hangs over along the bottom and the sides.

Turn the bag over and cut notches into the tape at the corners as shown below.

Then, fold the tape up over the back side of the bag. Repeat to get the base covered with tape.

Apply long strips across the front of the bag and fold the ends over to the back.

Apply shorter strips on this side of the bag to cover the folded over ends. Add strips all the way up, even though the picture shows the last two strips missing.

Use a previously punched sheet of paper to get the whole placement right and punch holes into the bottom of the bag.

Slip into a three ring binder and fill it with pens, pencils, erasers, calculators or other little school supply tidbits.

The Perfect Portion:
I struggle with eating the correct size portion at times, and I know my kids do too. This next tip is a great way to control the portion size and save money! Now, that’s my kind of tip!
Supplies Used:
I have four kids which means four lunches every day, that’s 20 lunches a week and 80 lunches a month. That’s a lot of lunch! Companies are smart and they pre-package their lunch type items into portions that are super handy, BUT often, this makes them much more expensive. I can’t afford to pay $.50 – $2 per lunch item – that’s why my kids take lunch from home!
These Ziploc® brand Containers make it so I can purchase a regular bag of chips, crackers, cookies or whatever and separate them into smaller portions that I can control, and that costs much less than the single portion version at the store.

Plus, I can get a bunch of them ready at one time, so they are simple to grab off of the shelf and throw into the lunch bag.

Stock Up:
My last tip to be Back to School Ready is to stock up on Ziploc® brand Bags and Containers. As you can see, Ziploc® brand products are for more than just food!
I have shown you how to use them to make a pencil pouch, perfectly portioned snacks, and that’s not all! There are so many solutions that Ziploc® brand products can help you with.

If you love this tutorial, please give it a five-star review and help me share it on Facebook and Pinterest!
Our Crafting Essentials List:
- The Cricut Cutting Machine is easily our favorite crafting tool. We use it in so many of our tutorials!
- This Fiskars Paper Trimmer is easy to use and cuts nicely without frayed edges.
- These Scotch Precision Scissors cut like a dream and you get multiple pairs in a pack!
- Keep those started project supplies organized and separated with Stacking Plastic Baskets. I always work on more than 1 project at a time and these baskets really help me from losing supplies.
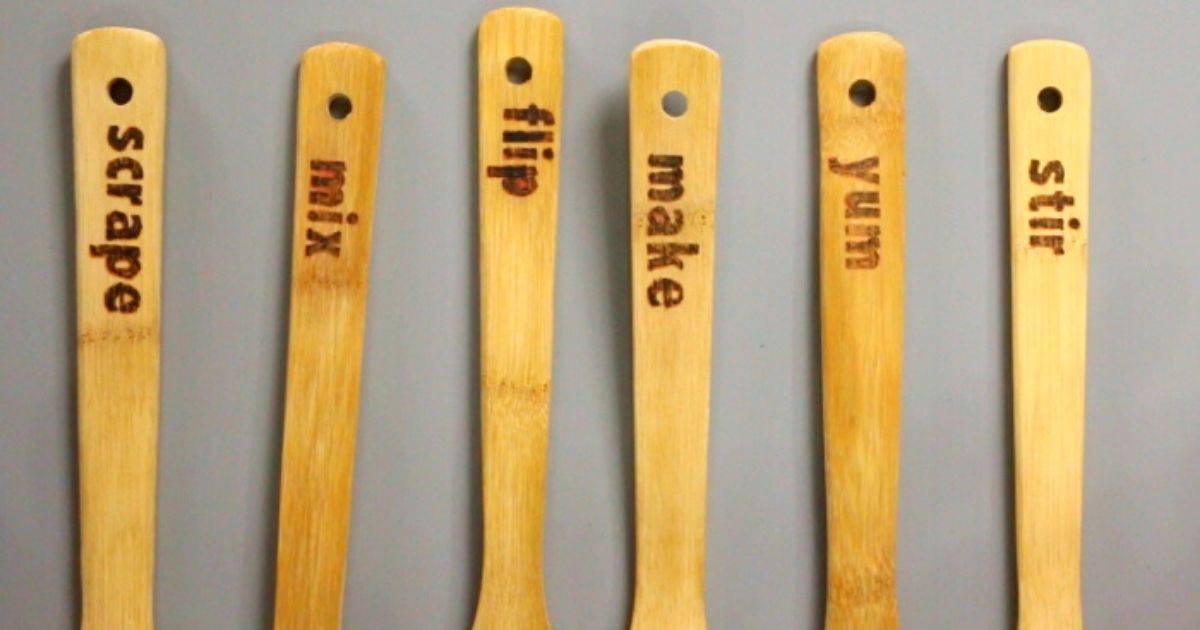
Wood Burned Spoons make a great handmade gift or personalize and keep to use yourself! Below is the step by step tutorial and video.
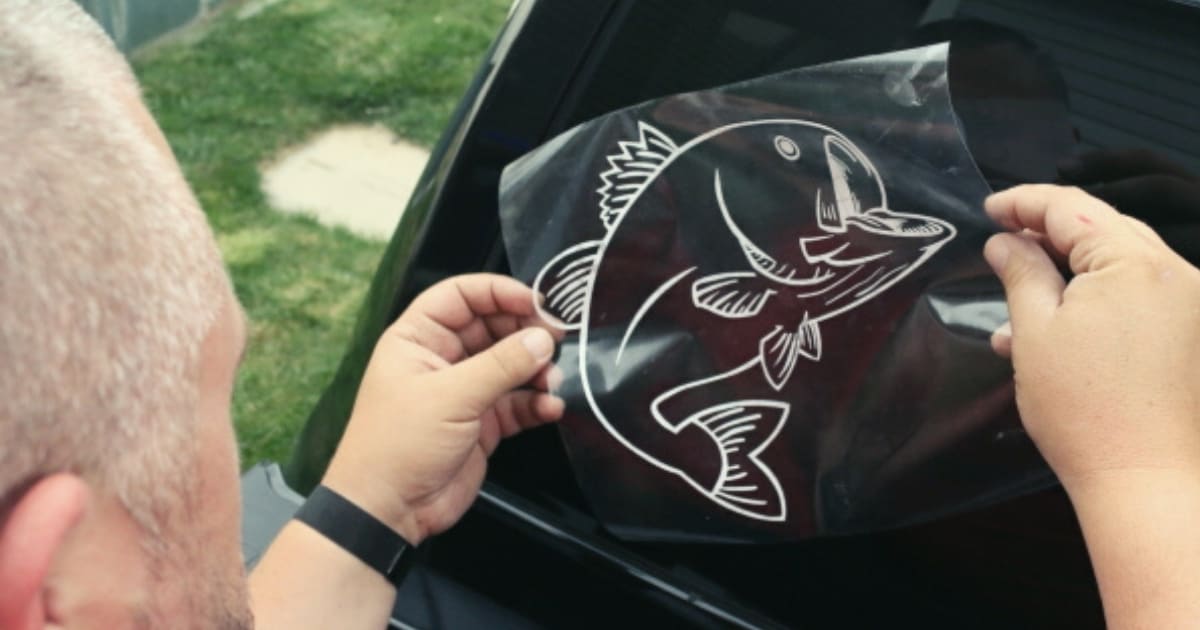
Learn how to make your own Vinyl Car Decals with the Cricut Explore. Click here now for the tutorial featured by The Crafty Blog Stalker!!
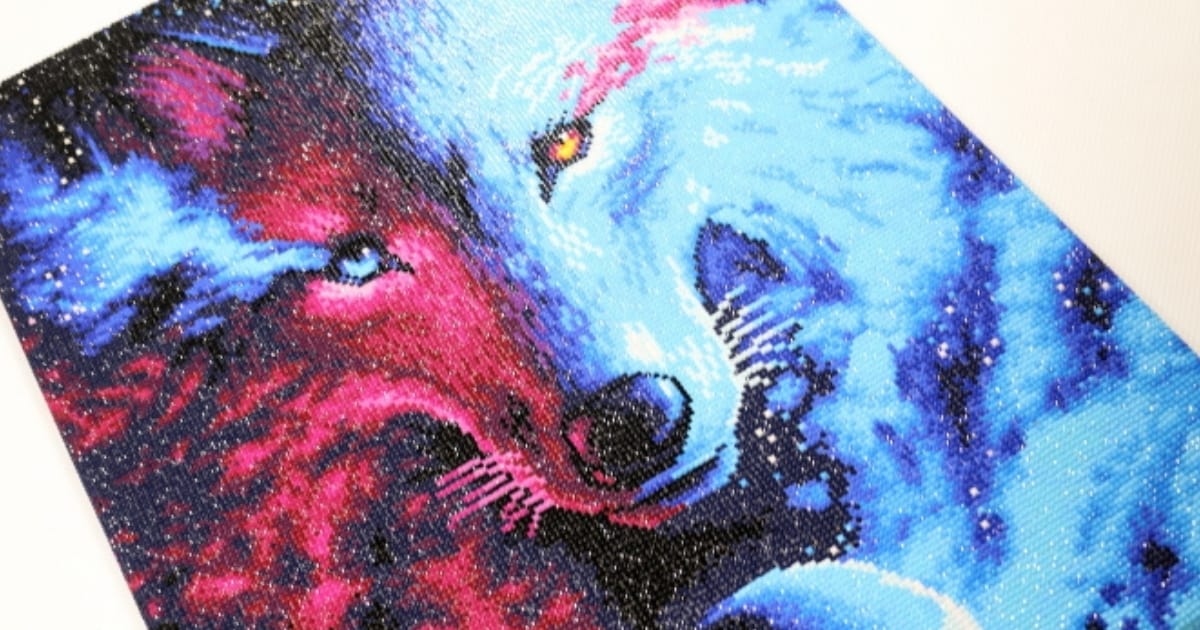
Put your artwork on display and Frame Diamond Art with a simple canvas wrap technique. Click here for the step by step tutorial with video.
Decorate your home with a beautiful sea glass wind chime. This step by step tutorial will show you exactly what to do. Free printable template included!
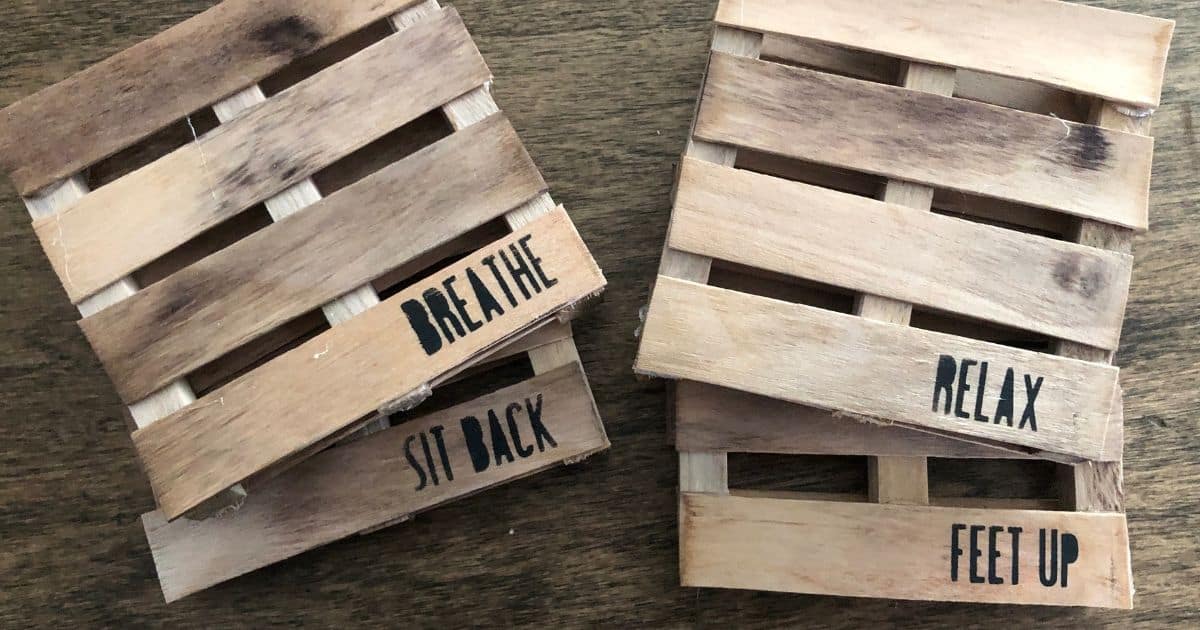
Learn how to make Mini Wood Pallet Coasters with Popsicle Sticks. Click here for the step by step tutorial and video!
Follow The Crafty Blog Stalker
The post 3 Tips to be Back to School Ready with Ziploc appeared first on The Crafty Blog Stalker.


