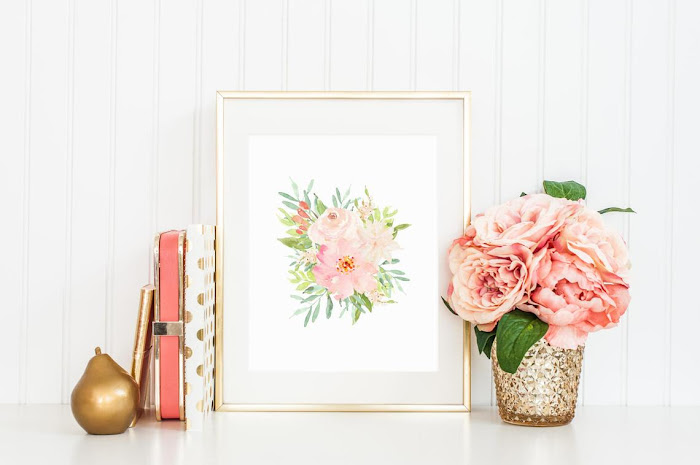
I'm not sure why I've been holding this DIY project hostage for so long, but, alas, today I am finally sharing how you can make inexpensive large framed wall art for your home! Every time I share baby girl's nursery on social media, I always get questions on where we found the wall decor that hangs above her crib. It makes me happy that so many people love it as much as I do! It makes me even happier knowing that we made it for less than $30!
This post contains affiliate links. Please see my full disclosure policy to learn more.
In what seems like both yesterday and a lifetime ago (time is a tricky fellow!), I shared a pic of the nursery that was the inspiration for this room. Aside from the soft pinks and greens, I was obsessed with the art work they hung over their crib, to the point that I even tracked down the source for that original painting. No joke, it was like a bajillion dollars AND that is what kicked off my quest to find beautiful wall art that was not going to cost us our life-savings, house, and first-born child (I'm not even sure if all of that adds up to a bajillion dollars but I was never very good at math anyways 😜)
I spent weeks searching the world wide-web but I felt like nothing was matching my criteria. I had my heart set on something floral or botanical-like, it had to include the colors of the nursery, it had to be large but not heavy (I'm terrified of things falling on my babies' heads when they sleep), and it had to be under $100 (preferably cheaper). No surprise at all, my search came up empty.
Then one day I landed on this gorgeous print from Lilypad Printables on Etsy and it hit me that we should just make our own wall decor!

So first I reached out to Kelly, of Lilypad Printables, to see if she was able to enlarge my print to 24" x 36" (and she could!) A lot of times, on Etsy you can select from multiple sizes right there on the listing, however, if the size you're looking for is not mentioned do not hesitate on contacting the shop owner directly to see if they can enlarge the print. 9 times out of 10 they can! Sometimes there's an additional fee, but it's typically only like a few dollars.
Once I received my digital download, I had it printed professionally. I have used both Staples and Office Max in the past and have been pleased with the quality of both. I usually go with whoever is offering a coupon at the time. If you're going large, you will need to print as a poster-size.
For the frame, we purchased some 1 x 2" pine boards from the local hardware store, cut them down to size (based on the measurements of the sides of our poster print), and then screwed them together to create a rectangle.
After we pieced together the frame, I took it out to the garage and stained it. I love the look of light wood tones (raw wood makes me weak in the knees!) so I went with Miniwax Fruitwood. It's a nice stain that adds just a hint of color.
Once the stain dried, it was time to add the art work. We just simply laid the poster face down on the back of the wooden frames and stapled away. And yes, that's an upholstery gun! It worked just as well as a nail gun.
Once our poster was nice and attached, we added some frame hanging hardware to the back of the frame, hung it on the wall and then stood back and admired for weeks on end. Okay, so maybe WE didn't admire it obsessively, but I sure did!
You know what I especially love about this framed piece of art is that it's super light. I mean essentially it's paper, so no baby concussions here if it ever came off the wall!
Phew...it feels good to mark this project off my "Share on the Blog" list! It only took a 1.5 years but hey, who's counting?
If you're looking for more nursery info, you can find all of the decor sources here.
