Click here to read Easy DIY Geoboard for Toddlers to Make Stars & Simple Shapes on Hands On As We Grow®
Make a DIY geoboard with cork hot pads, pushpins and kids rubber hair elastics for some twinkling star making fun with your toddler!

This little geoboard is super easy to put together and such a great tool for strengthening those fine motor muscles.
Fine motor muscles need lots of practice and working out to get little ones ready for writing.
Make Your Own Stars on a Cork DIY Geoboard
Honestly this is the easiest geoboard idea I’ve ever done. So little prep needed.
To Make this DIY Geoboard Star Activity, You’ll Need:
- Cork hot pads, or coasters
- Colorful pushpins
- Colorful toddler rubber hair elastics (or small colorful rubber bands like loom bands)
- Black marker

The only prep required for this activity is to gather the supplies, and draw some stars on the cork.
I recommend drawing the simple 5 pointed star with the lines.
This will help guide your toddler on where to put the elastics on the homemade geoboard.

Making Stars on Cork Base DIY Geoboard for Toddlers
When I showed my toddler the supplies I made sure to only explain and focus on the first step.
Start by Making Stars with Pushpins
I opened up the pushpins and said we need to make each star it’s own color.
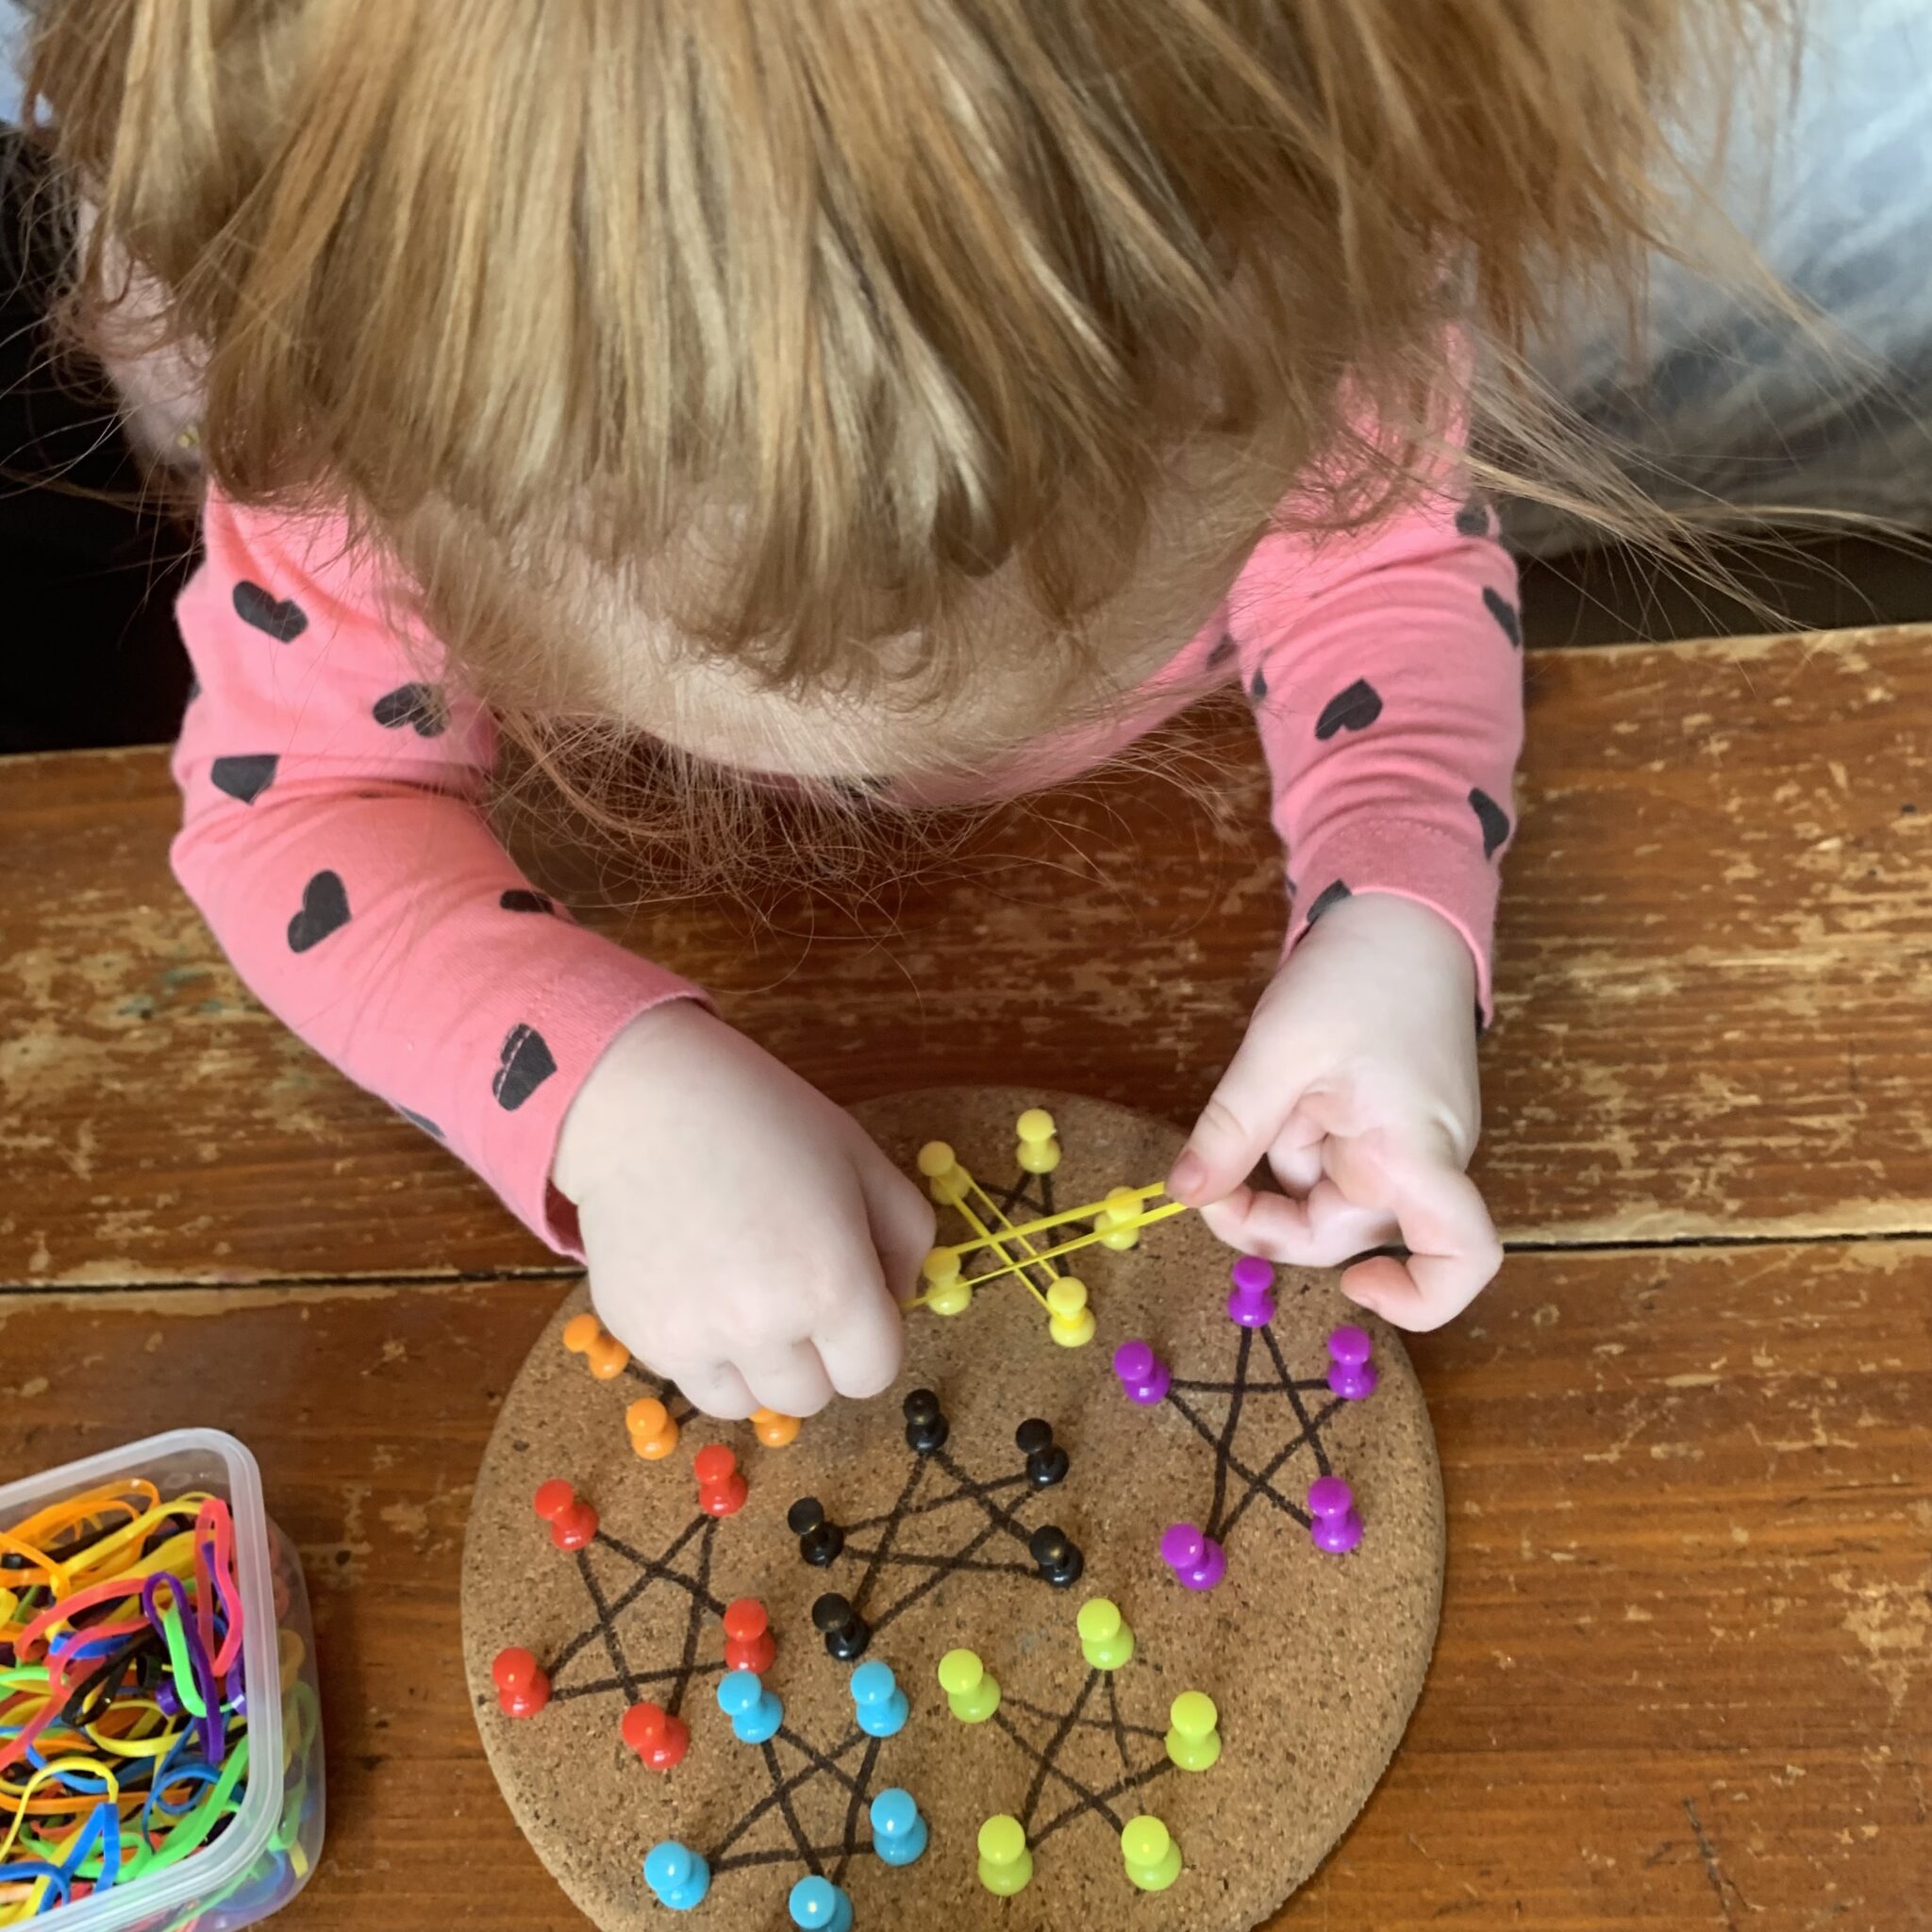
And each point on the star needs one pushpin.

Maisie went straight to work!
We also talked about how the tips are pokey, so we need to be gentle with them.
And to make sure we pick any pins up that we drop.

Maisie was super careful and also excited to get to use a tool she isn’t usually allowed to play with.
I find introducing an object my kids are not usually allowed to use like real tools, mommy’s permanent markers, or pushpins brings with it big interest.

My toddler worked very hard to get the pins to go in the cork right at the very tip of each star.
The concentration she was using with her new DIY geoboard was quite impressive.
I was pleasantly surprised.

Maisie moved easily from color to color until she was down to the very last star on her cork geoboard.

Throughout this whole process we talked a lot about colors.
She spent a lot of time naming the colors and showing me other pins that are in the container that are the same color.
We even pointed out objects in the room that matched the same color.
Start Adding Elastics to Your DIY Cork Geoboard

Now it was time to start adding the rubber hair elastics to our homemade geoboard.
This took a little practice and learning.
We took it one step at a time.

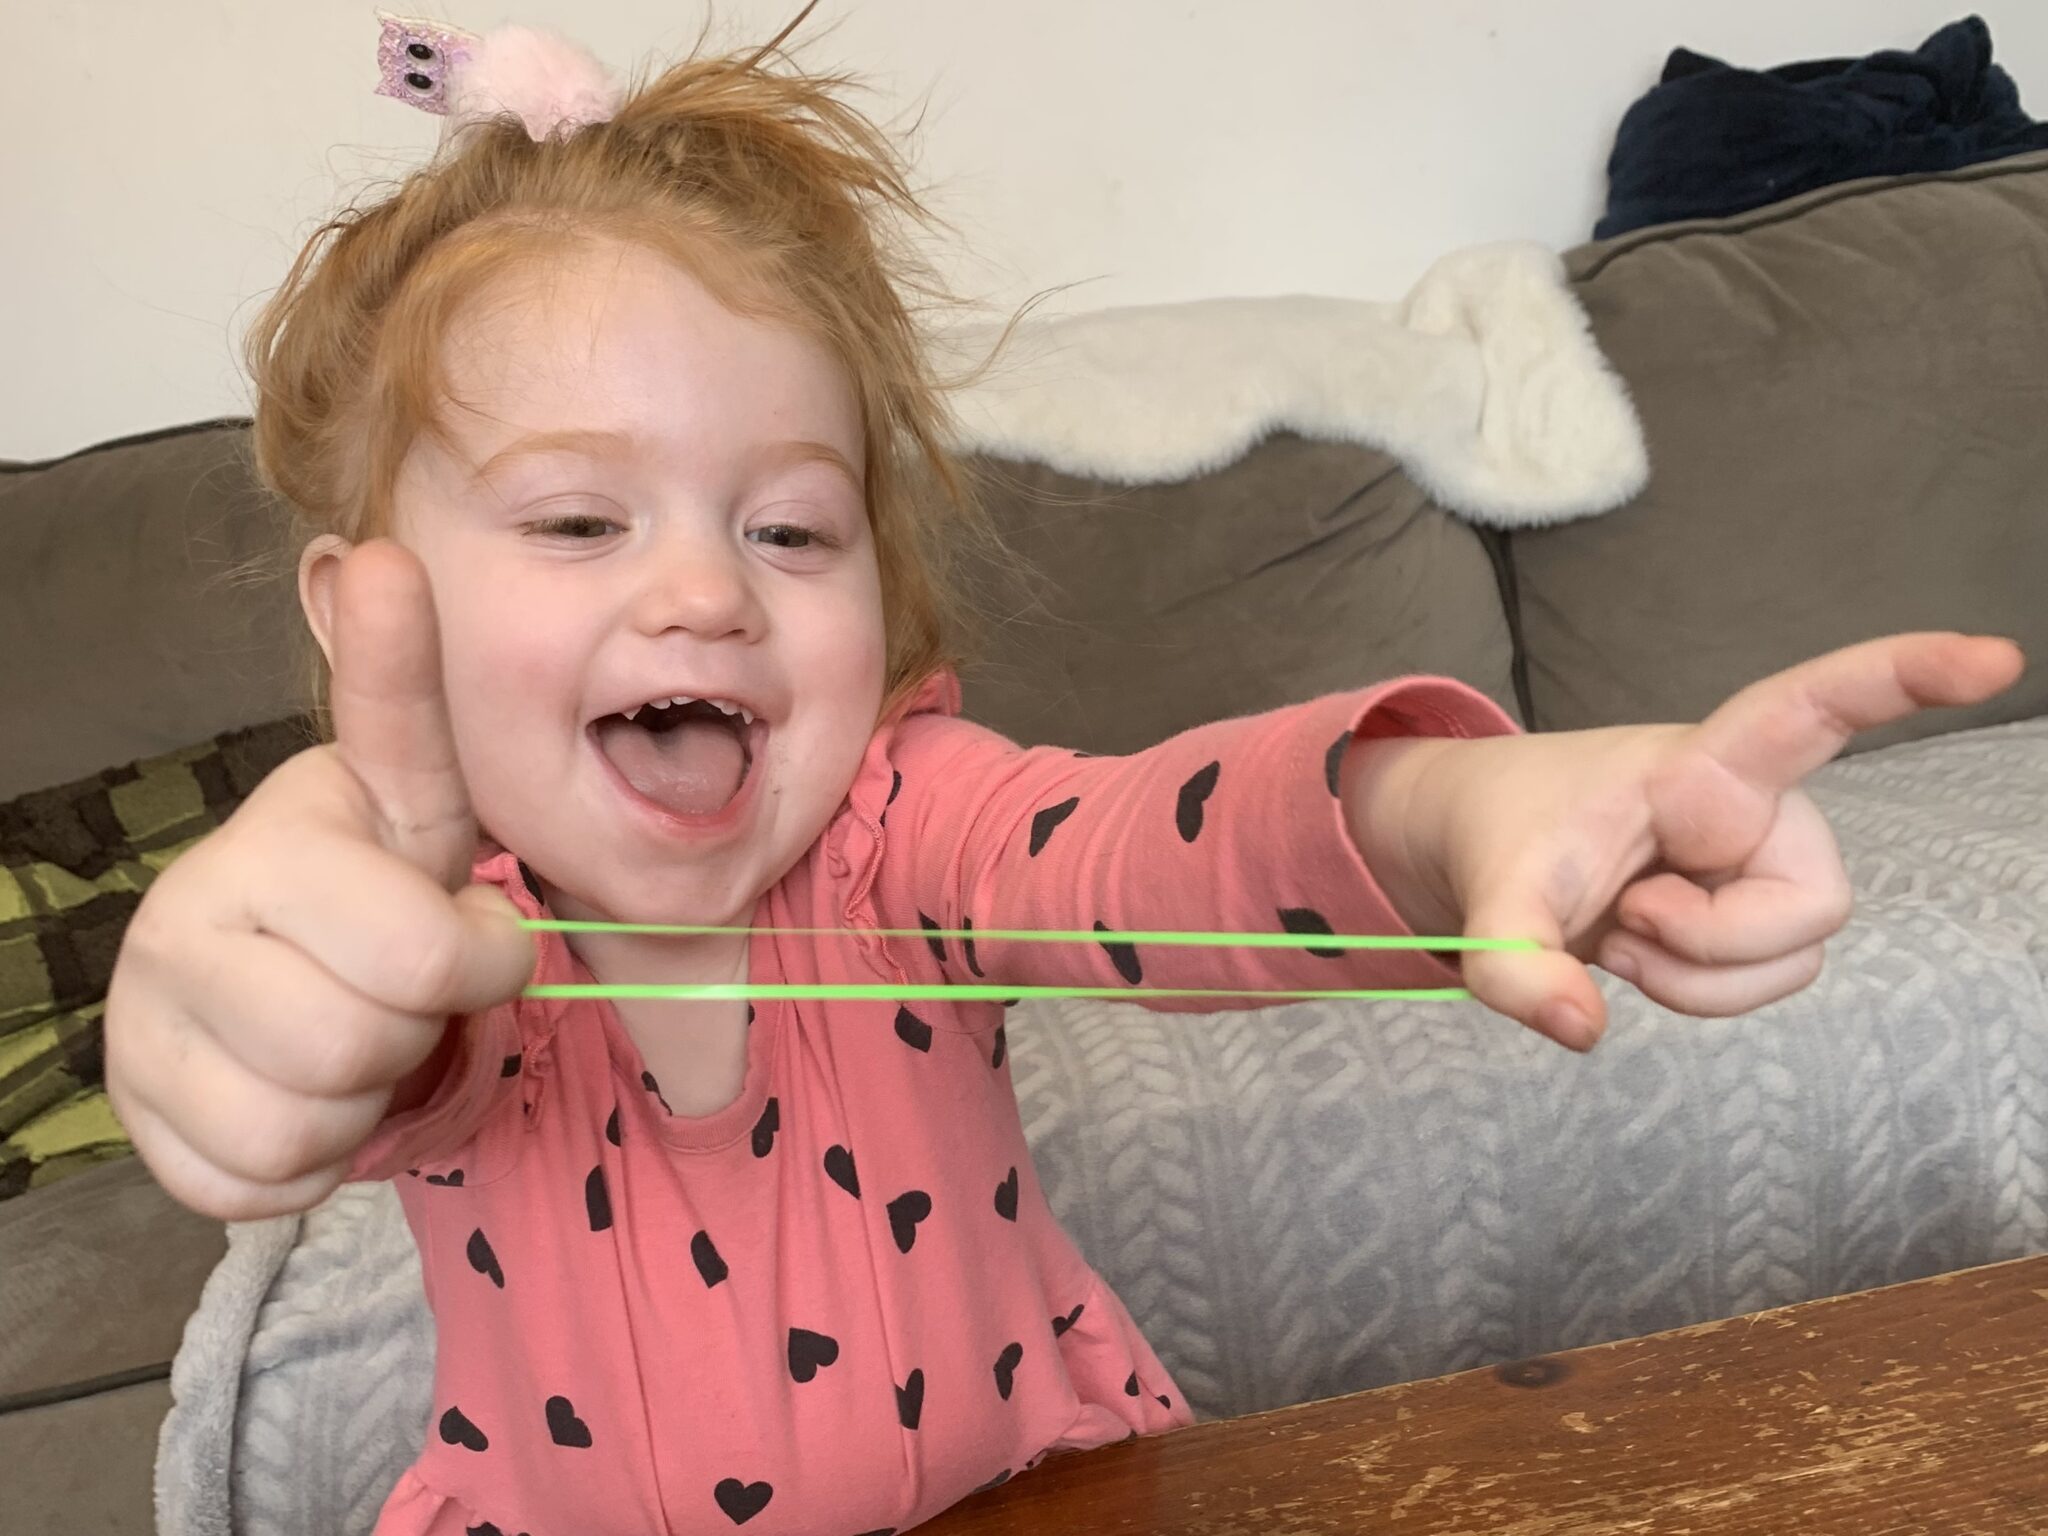
First, stretching them with one finger from each hand.
Next, letting one end of the elastic hook onto one of the target pushpins.

Lastly, follow the marker line and hook the second end over the pin at the other end of the line.
After 3 or 4 elastics with gentle verbal guidance, my toddler mastered it.

Maisie was now off to the races with her new DIY twinkle star geoboard!
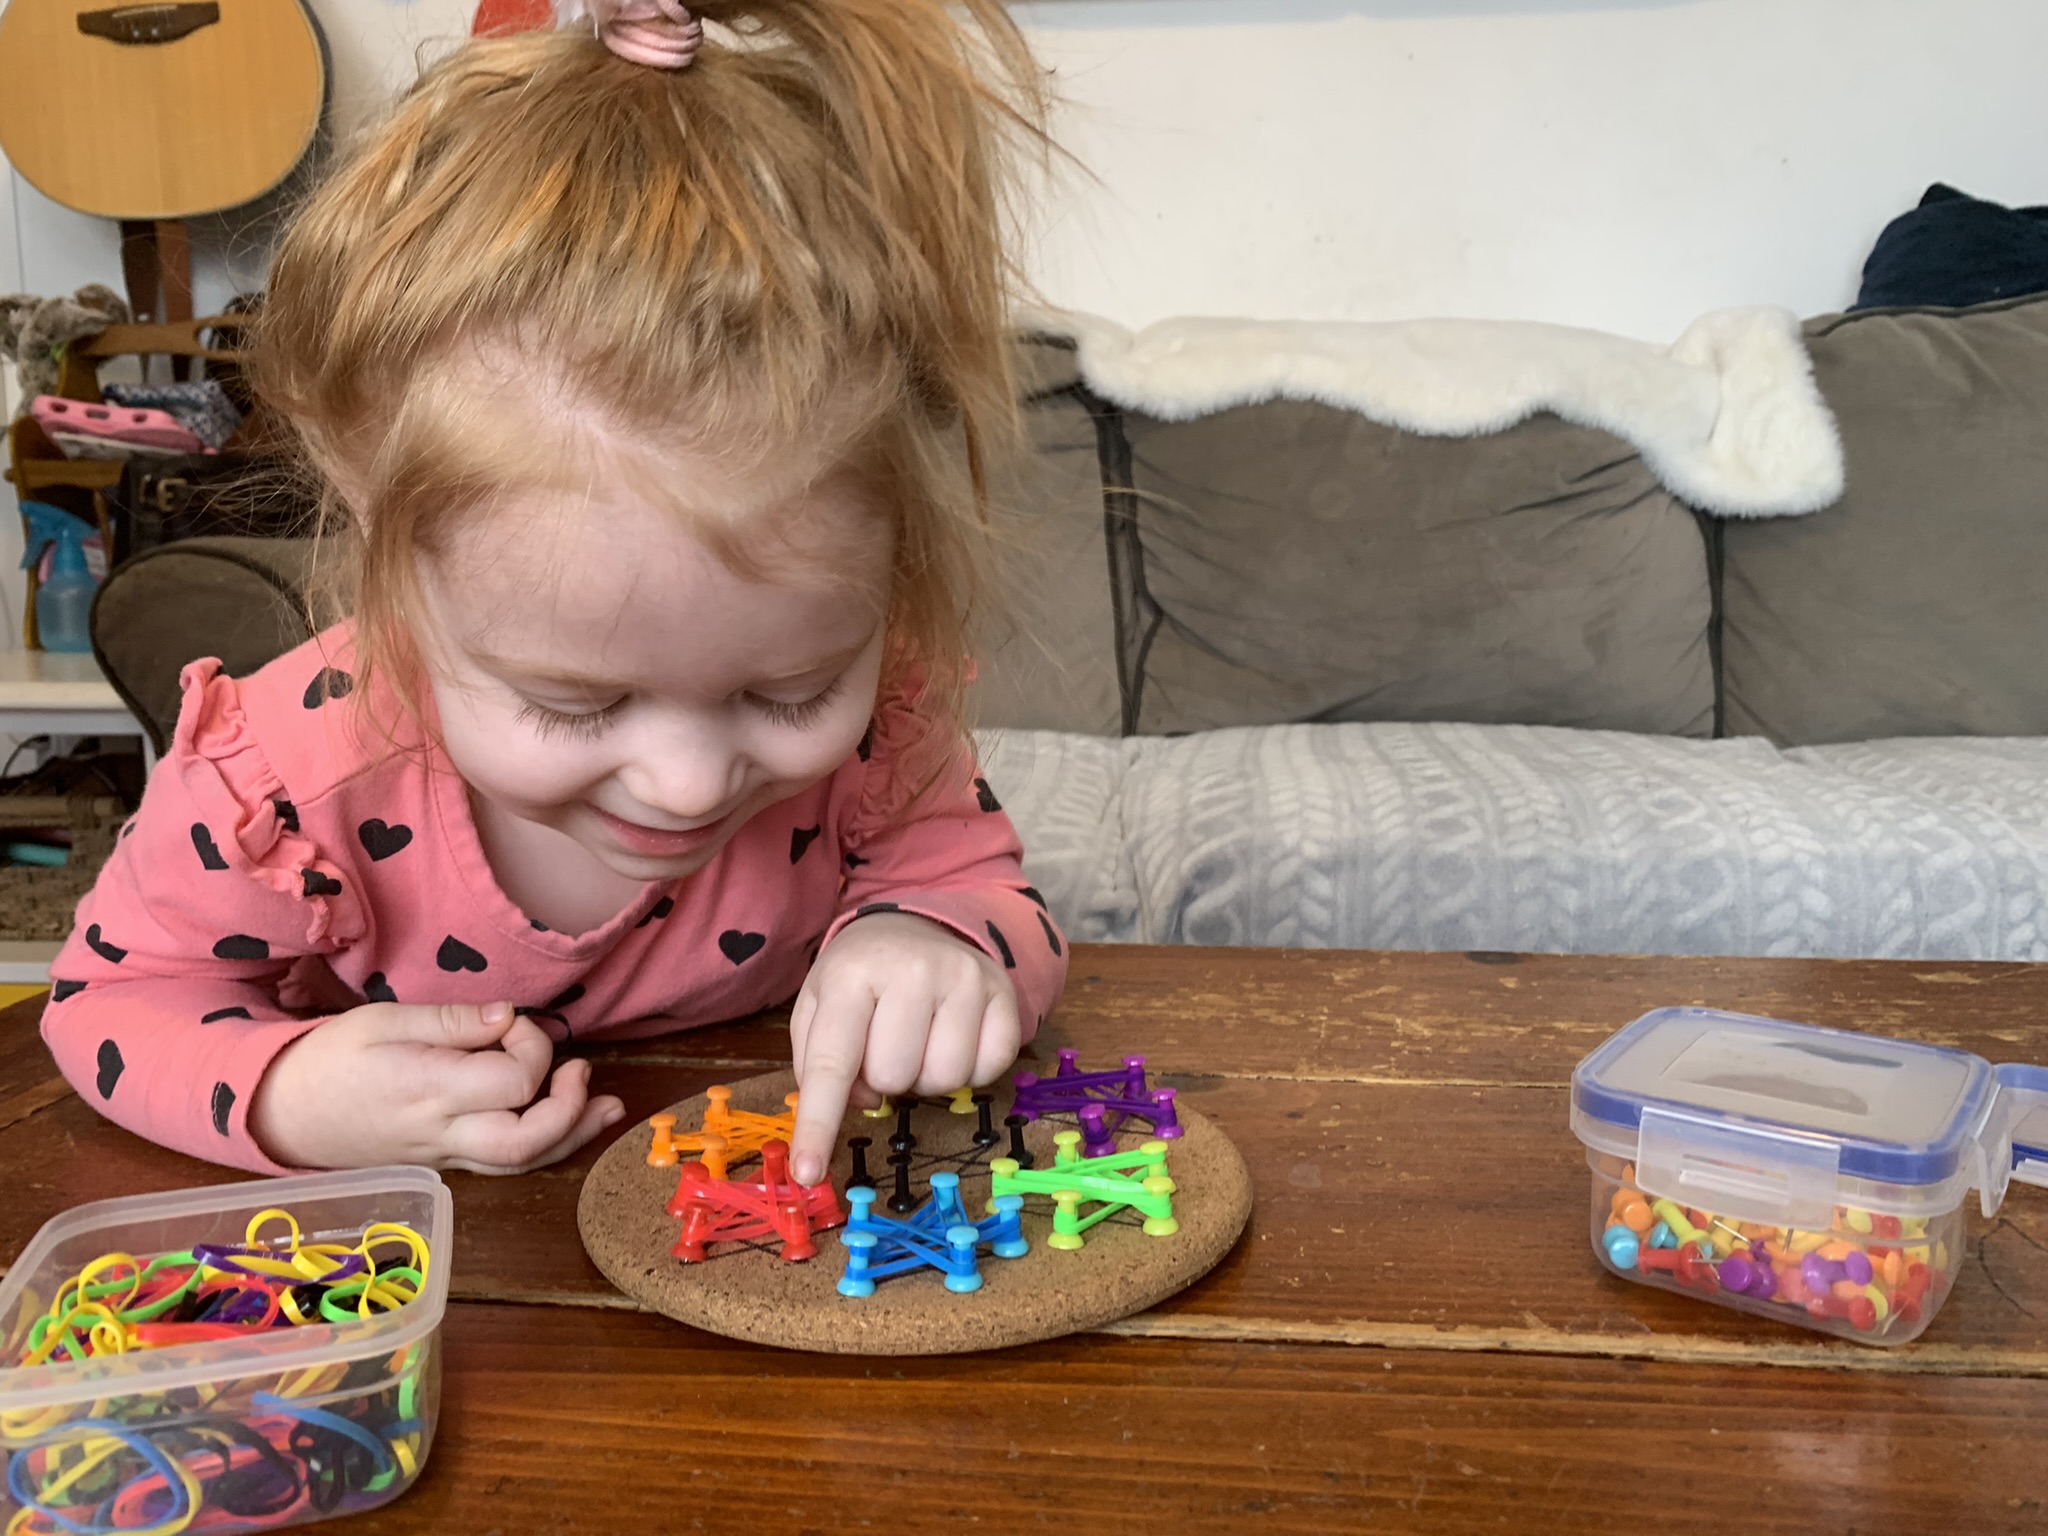
And she loved how bouncy her stars were once all the elastics had been put on!

The stars were taking shape and my 2 year old was in the zone.
One star, one color, at a time.

And so proud of herself after each one.

I couldn’t believe how such a simple activity like this DIY cork geoboard was bringing so much learning and joy in my toddler.
Activity win over here!

After getting the 3rd or 4th elastic went on the geoboard we would look closely to see where the marker lines were on the cork that didn’t yet have an elastic over them.
Maisie would look very closely and then count how many rubber bands she had in that color too.
She knew she needed 5 pins and 5 elastics for each star.

Follow Your Toddler’s Lead and Speed
I made sure to let Maisie go at her own pace.
This was super important to keep the mood happy, encouraging, and child-led.
I find this to be super important with my kids.
I’m the number one offender for causing the activity to be over because I tried to take control and they lose interest.
Maisie loved to stop and bounce the stars or talk about their colors.

There were times when she paused to just examine the container full of rubber bands and feel their textures and enjoy the sensory of touching them.
And that was just fine with me!
After over half an hour of working on this DIY cork geoboard, my toddler was on the last star!

We had reached the final star, which was black, at her pace and she was 100% invested.
I’m so grateful I never tried to rush or refocus her while she was exploring this activity.

Because this expression on her face, and the joy she shared with everyone in the room the moment she completed this… Priceless.

My parents came by for a visit just in time to enjoy the last moments and that made her even more proud of her hard work!
Download FREE Go-To List of Fine Motor Pre-Writing Activities
Freestyle DIY Geoboard Fine More Fun

Immediately after showing off her amazing homemade stars geoboard to Nanna and Papa, Maisie reached for the other cork hot pad.
She wanted to do more!
I as shocked she wasn’t exhausted.
She is only 2 after all and that was a lot of concentration and fine motor muscle work.

I drew a bunch of circles and her request.
She went straight to work putting pins in, putting elastics on, and taking elastics off.
We had quite a blast designing our own patters, rainbows, bumble bees, and designs on our new DIY geoboard.

All in all this was an activity win win win!
Over an hour by the end, and everyone was feeling connected, loved, and happy!

Does it get any better than this?
Go ahead and give this cork geoboard a try! Pick stars or another shape you know will interest your little ones!
What cool shape activities have you done with your kids?
Share with us in the comments!
