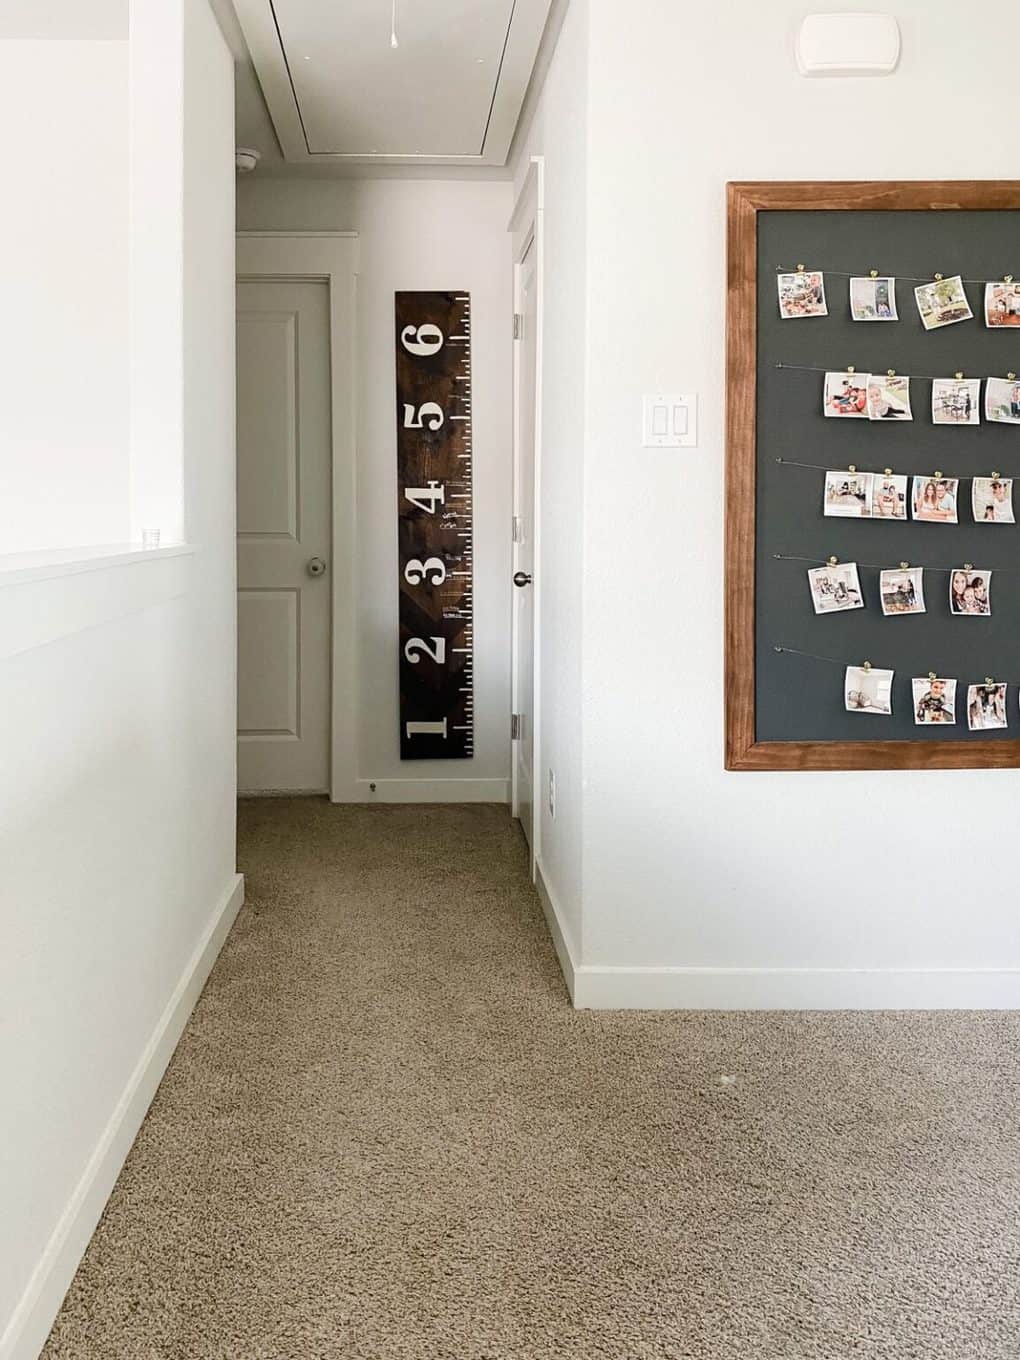
I made a simple (and adorable) DIY wooden growth chart ruler to keep track of my son’s growth throughout the years. This easy DIY growth chart was fun to make and looks great in his room! This post was originally published in May of 2018, but has been updated!

You know how people always say that kids grow way too fast?
Well, it’s true.
When I built this growth chart, Jackson was two and a half. Now, five minutes later, he’s 7 and his little brother is quickly approaching 3. How? How did that happen?!
All I know for sure is, I’m so glad I took the time to built this wooden growth chart for our home – it hung in Jackson’s room in our first house, and it has hung in the hallway between the boys’ rooms in both of our subsequent houses. Five years later, it still makes me smile every time I see it, and measuring the boys a couple of times a year is a favorite tradition for everyone in the house!
Originally, I considered just finding a good spot in the house where we could mark his growth on some door trim or something, but then I realized that we may not live in that house forever (spoiler – we didn’t! We’re on our third house now!), and it would have been awful to lose those memories. So, I decided I’d make something that could be hung in the house and I’m oh so glad I did.
This post contains affiliate links. Click here to read my full disclosure policy.
I’m glad we have a spot now where we can keep track of how quickly the boys are growing, and I think it’ll be a really special thing to have as they get even older. Jackson loves to compare how tall he was at certain ages with how tall Grant is at the same age, and it’s always kind of mind-boggling to see how much they shoot up in just a few months.
How to Make a Wooden Growth Chart Ruler
This is a really easy project and it can be as simple or as complicated as you want, depending on the design you’re going for. I wanted something a little more elaborate than just a plain wooden board so it took a bit more effort, but I still was able to do the whole thing in about a day and a half of on-and-off working. Here’s how I tackled it:
Materials:
- 6-foot 1X8 Board (we just used pine!)
- Frog Tape
- Stain
- Measuring Tape
- White Paint
- Small Paintbrush
- Printer + paper
- Pencil
Step one: Stain Entire Board

I started with my plain ol’ 6-foot board. I sanded it down and stained the whole thing with one coat of Varathane Dark Walnut stain
Step two: Tape Off Stripes


Then, I taped off my pattern. I had to call in for some reinforcement from my math teacher husband – he’s pretty handy to have around in situations like this! I wanted a chevron pattern, and I guesstimated that I wanted each chevron to be about 4-inches tall. That decision was based purely on the (very scientific) method of holding my fingers apart on the board until I found a nice, chunky size that I thought would look good, and then measuring my fingers. I like to keep things nice and precise.
Corey helped me out by holding his square up to the board and putting a mark on the center of the board (starting where we wanted the first stripe), then he made another set of marks 4-inches later to indicate the bottom of the stripes. He repeated that process every 4 inches all the way down the board, and on either side of the board. How far you go down on the sides will determine how “deep” your chevron stripes are – lower will make them stretch out a bit, and higher will make them squattier.
We wanted to keep things nice a symmetrical, so (as you can see in the photo below), we had the apex of the first chevron at the top of the board, then marked 4″ down on each side to mark the end of the stripes. Rinse and repeat all the way down!
Once all of our lines were marked on the middle and on both sides, we just went in with the tape. Just fully tape off every other stripe, being careful to hit each of the marks as you work.


Step three: Add a Second Coat of Stain
Once everything was all measured and taped (which was the most tedious part of the whole process), I added a second coat of stain. It was dark outside by this point, so I don’t have photos to share, but I allowed it to soak in for about 30 minutes before I rubbed the excess off. I wanted the pattern to be subtle, but since the stain is so dark to begin with, I needed to make sure the second coat actually made a difference (hence the longer-than-normal sitting time). I let it all rest until the next morning, and when I pulled the tape off I had perfect little chevron stripes!

Step 4: Add Foot & Inch Markings
For the numbers and markings on the side, there are a ton of different routes you can go. A lot of people use a stencil or vinyl – however, I wanted more control over the font and size than a stencil would allow. Vinyl would have worked fine, but I wanted the painted look instead so I decided to just take it on myself. Plus, I already had everything I needed in the house to paint and I would have had to purchase vinyl – I’m all about the path of least resistance!
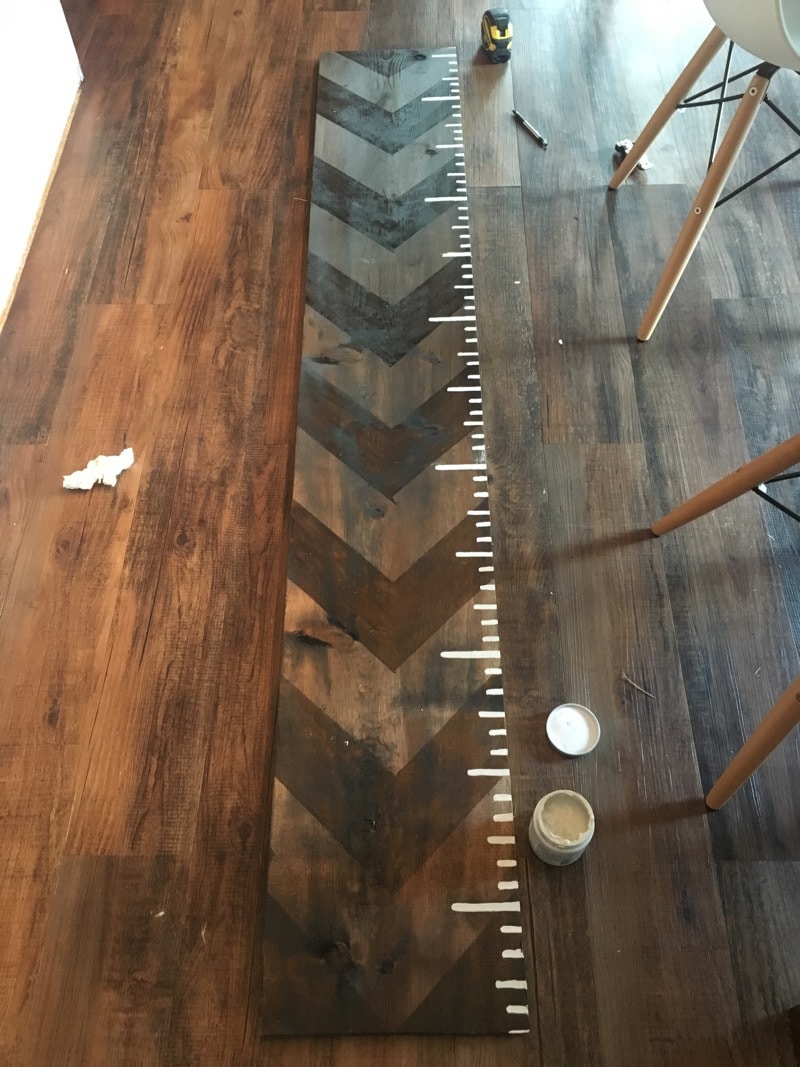
I wanted our board to look kind of like a ruler, so I started by marking a 3-inch long line every foot on the board. The key to remember here, though, is that unless you’re planning to rest the bottom of the board on the floor your first mark shouldn’t be at one foot, or else your measurements will be all wrong. I planned to hang my board 7-inches off the ground (for no discernable reason other than I liked how that height looked – remember, super scientific), so I marked my first line at 5-inches (7+5=12!). Then, I marked every foot from there. Make sense?
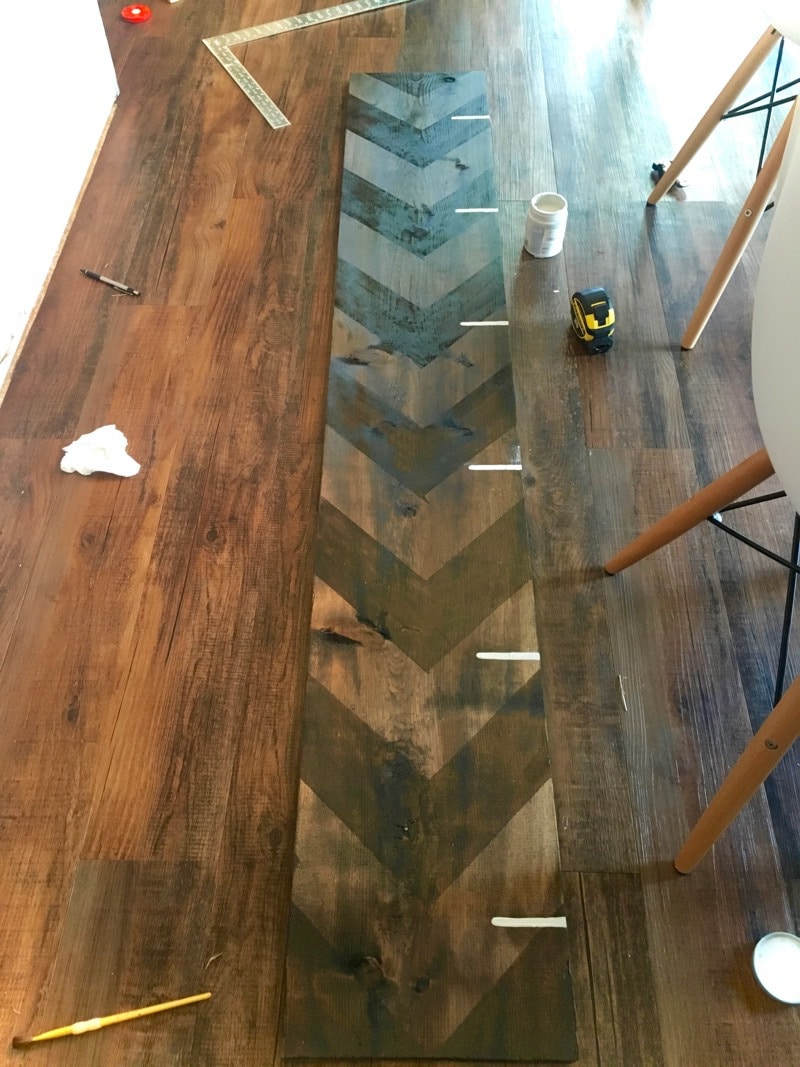
After I had each foot marked, I went back and painted a slightly shorter (about 2-inches) line every half-foot.
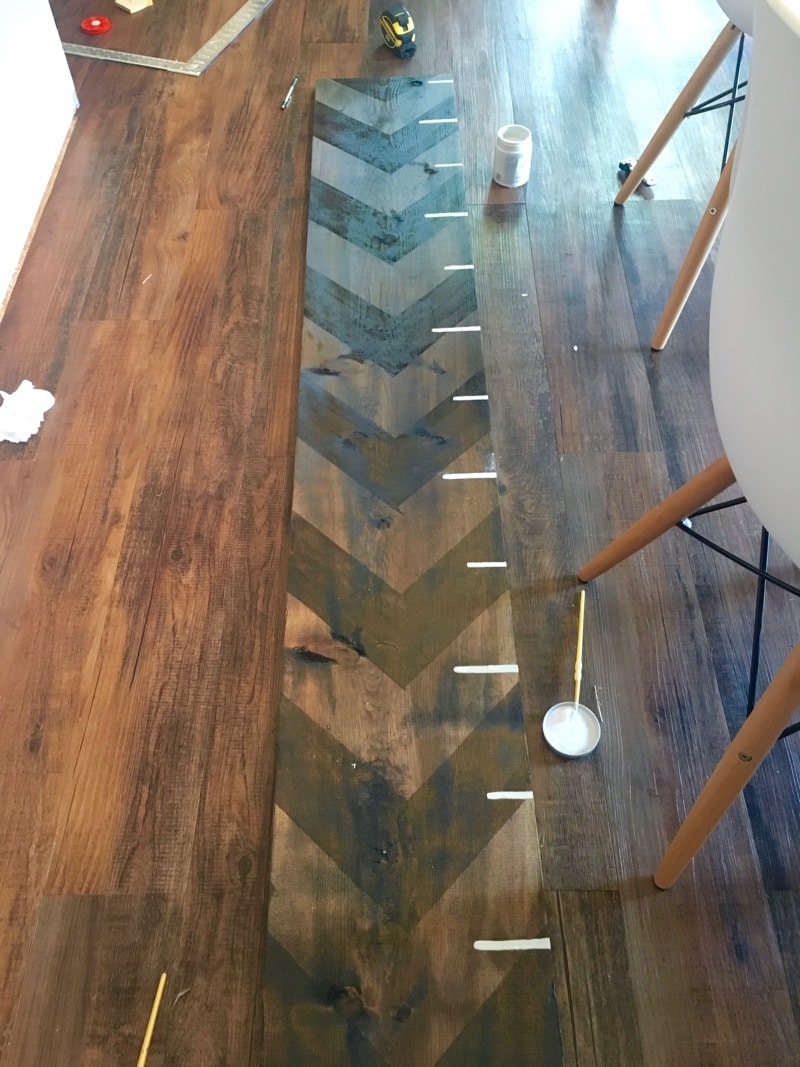
Then I added the 3-inch and 9-inch lines…
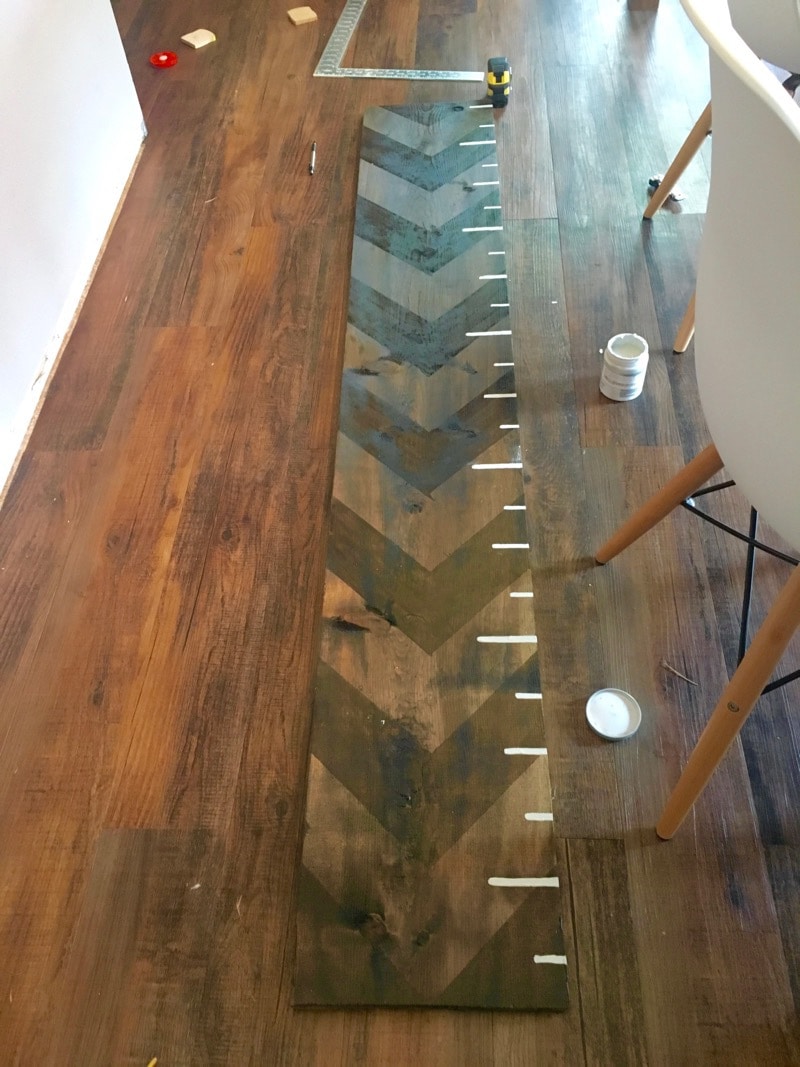
And finally, I added very short lines every single inch!
Step 5: Paint the Numbers
To paint the numbers, I printed them out in a font large enough to fit one number per page (I used the font Abril Fatface), and cut off the excess paper everywhere but underneath the number (by leaving the space under the number I was able to ensure each number was spaced evenly from the markings on the board). Then, I laid them out on the board to make sure I liked how it looked.
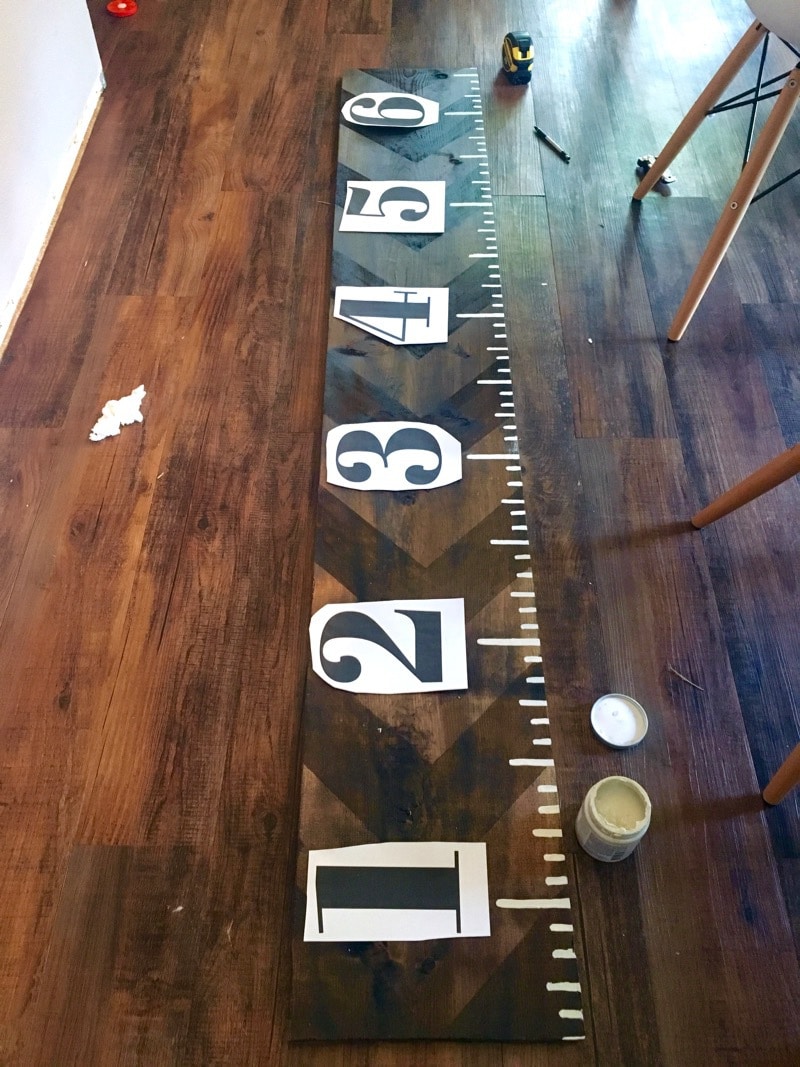
Perfect.
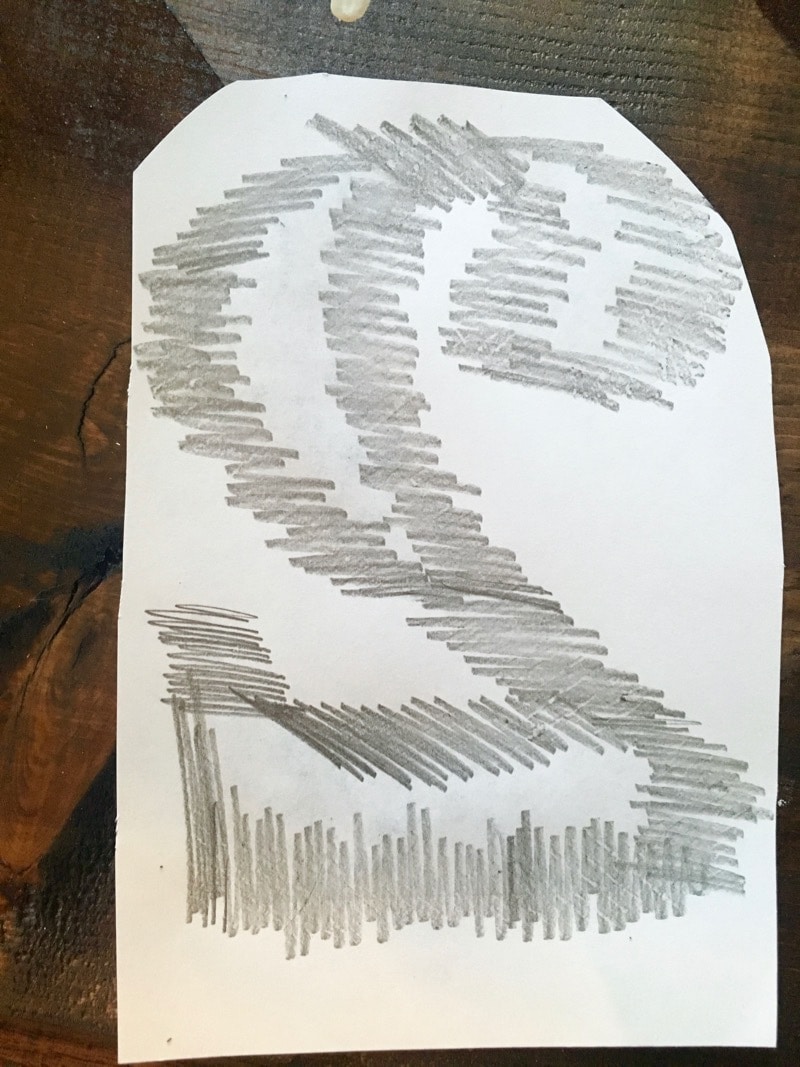
I used a pencil transfer technique to paint the numbers onto the board. It’s extremely simple and much quicker than cutting out the numbers and tracing them. Start by using a pencil to shade the back of the paper around the outline of the number – be sure to do it nice and dark so you have plenty of lead to transfer over.
Then, flip the paper over and position it where you want it to be on the board. Take your pencil and trace the outline of the number – use a pretty good amount of pressure to make sure you get a clean transfer. Once you go all the way around you pull the paper up and….voila!
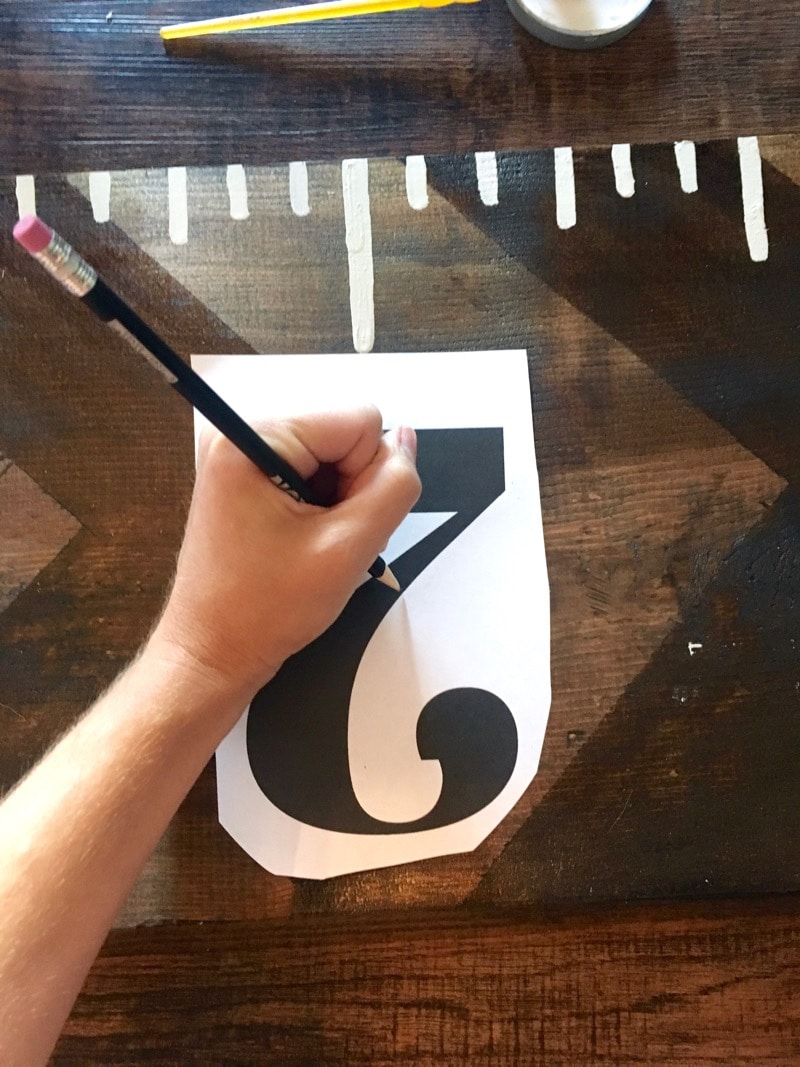
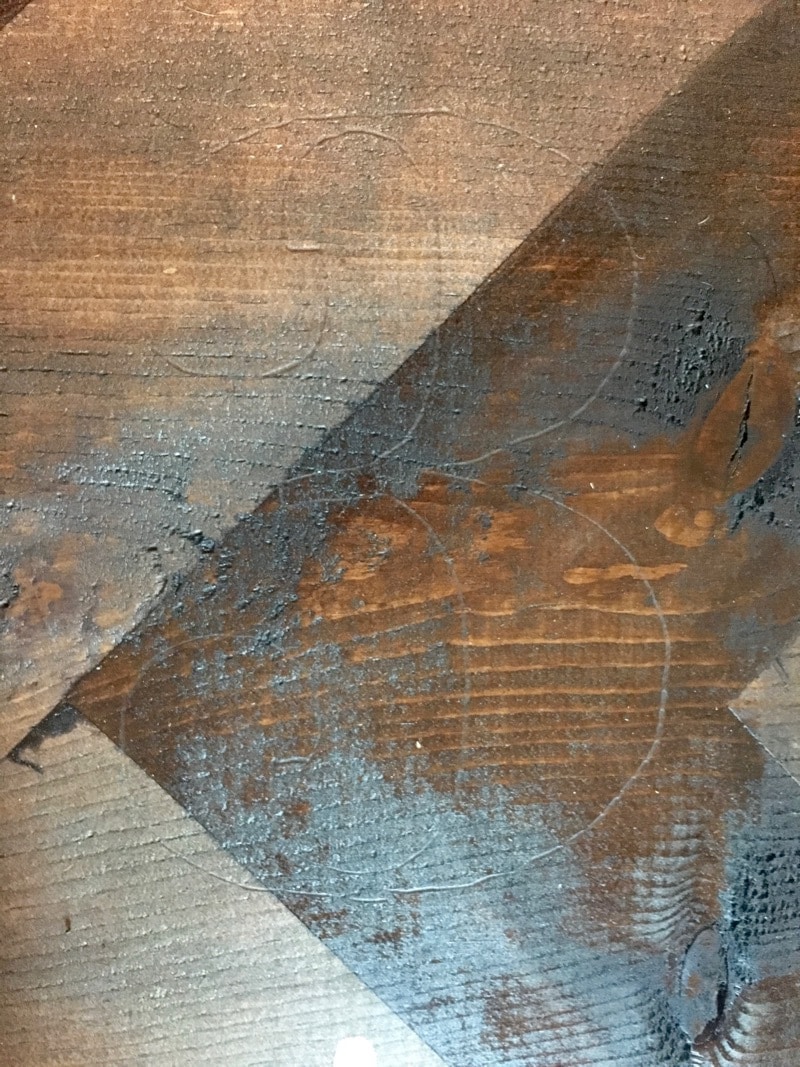
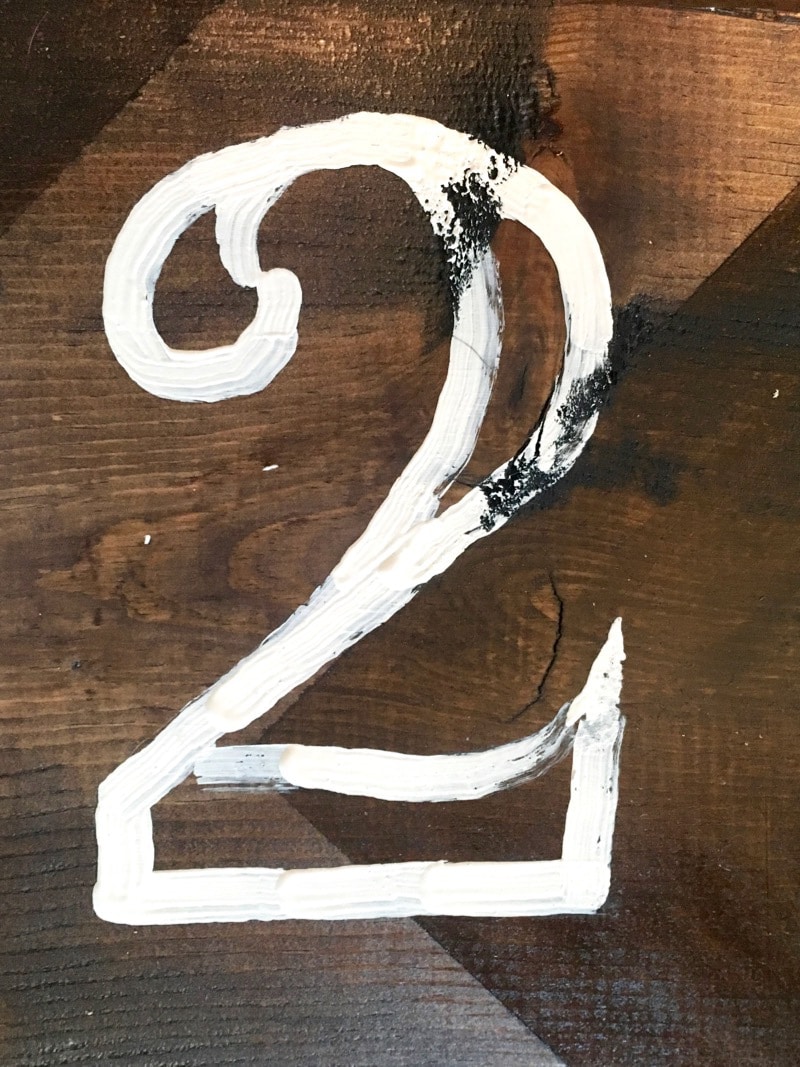
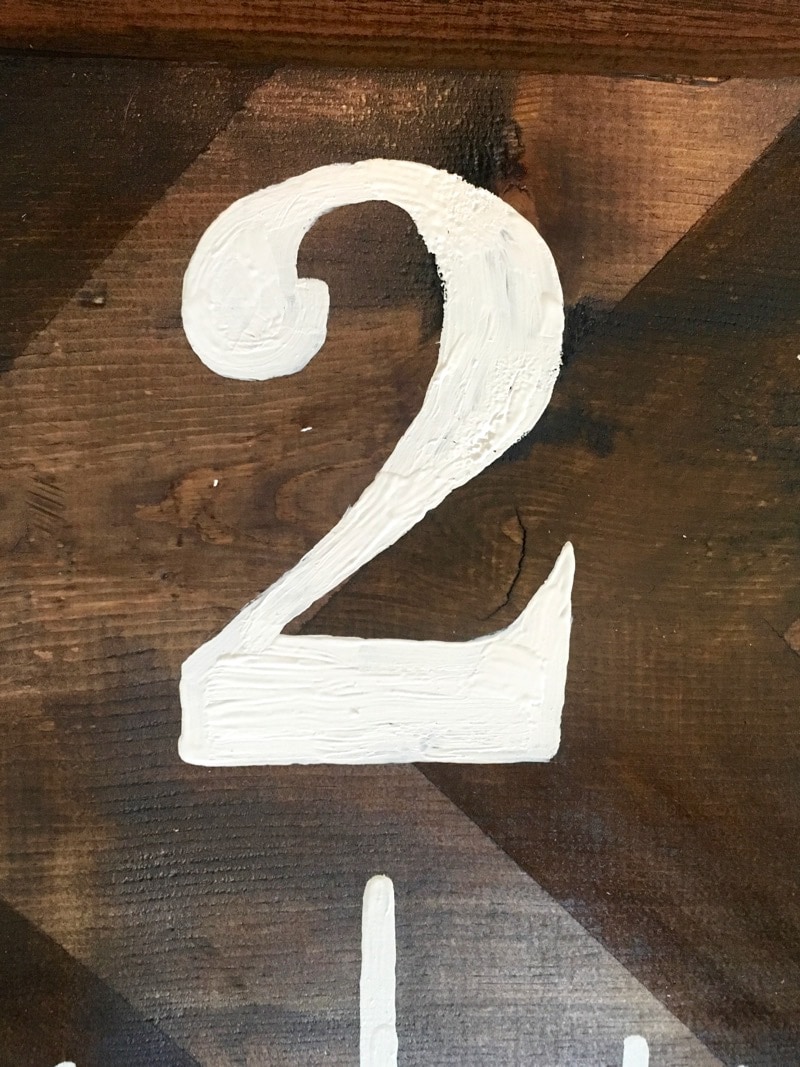
It’s hard to see here but I promise it’s visible in person. Once I had my outline all done, I just took some white paint we had left over from something else and hand-painted each letter. It took a very steady hand and lots of patience, but I love how it turned out. I had to do two coats (one just to get the outline done and filled in, and a second so it didn’t look too splotchy), but the second one was very quick.
Step 6: Hang the Wooden Growth Chart
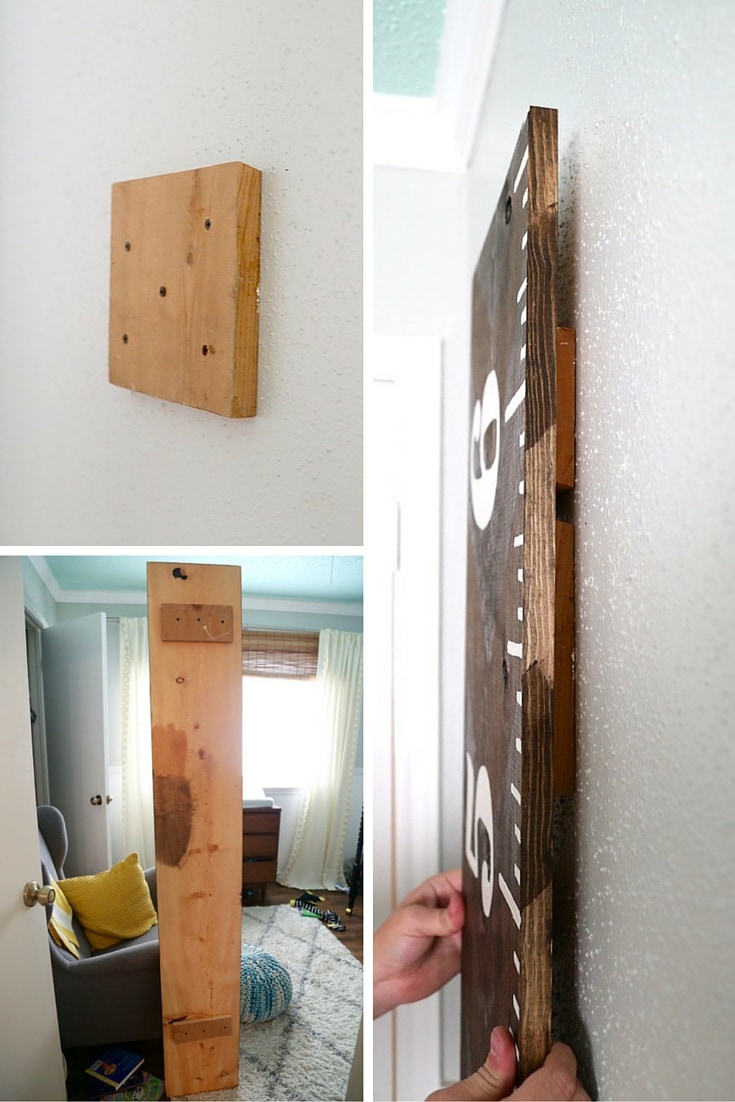
Since this room has trim around the middle of the wall, we had to get a little creative with hanging it. We weren’t willing to do anything quite as permanent as cutting away the moulding to hang it, so we had to hang some spacer boards behind the growth chart to hang it on. We did a french cleat to hang it, which basically just means that you cut two boards at an angle so that they fit together. One goes on the wall, the other on the board, and then you just fit ’em together!
And then? Done!
Please enjoy this photo of tiny baby Jackson being measured for the first time on his new growth chart.

We marked mine and Corey’s heights on the growth chart first so that as the boys get older, we can see how old they are was when they pass me (and maybe even Corey) up! To mark the heights, we’re just using a metallic silver sharpie – it shows up really well, and hasn’t faded at all over time. We usually measure the boys every 6 months or so (around each of their birthdays, they both get measured), and it’s always a big event in our house!

Do you track your children’s growth in your home? Did anyone do it growing up? I was seriously jealous of my friends who had those cool markings on a door frame in their home!
Want to See More Decor for Kid’s Rooms?
The post DIY Wooden Growth Chart Ruler appeared first on Love & Renovations.
