

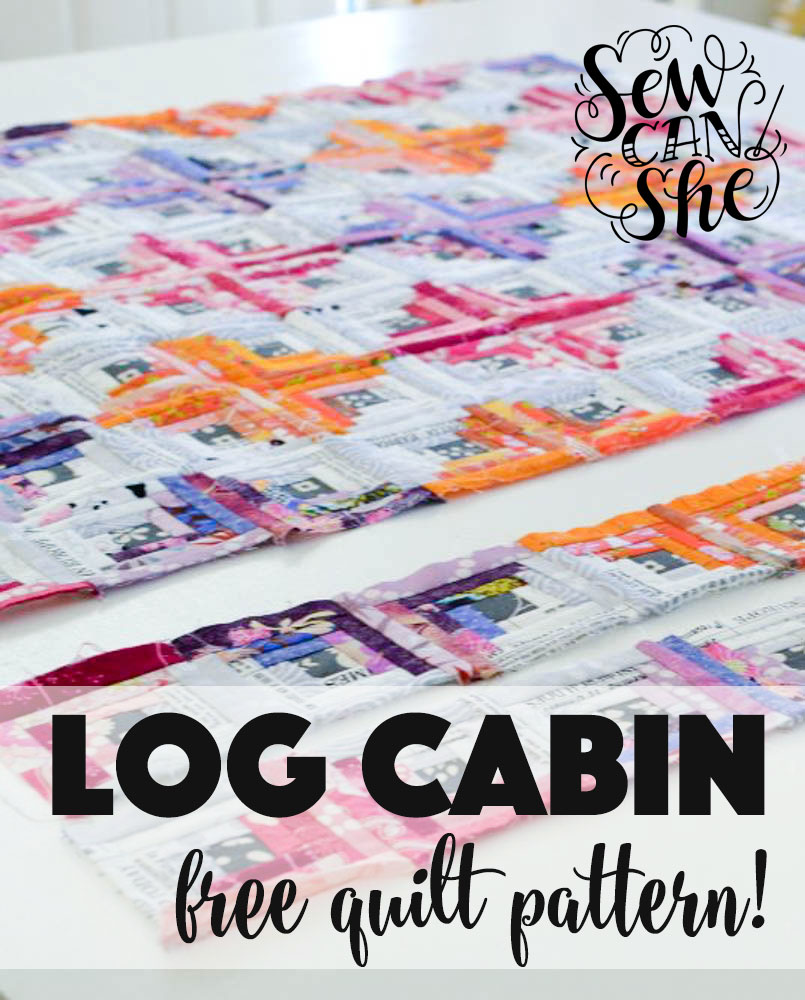
The Log Cabin is a simple quilt block that can be sewn in any size and arranged in so many ways that there are literally endless possibilities... not kidding! This design is particularly prevalent in early American and Japanese quilts. It's such a fun and easy quilt block that (in case you hadn't noticed) - all you have to do is google 'log cabin quilt' and look at the images to see.
UPDATE: This blog post has been converted to an optional PDF that’s optimized for printing. Find it here.
And come to think of it, the log cabin might be the first strip quilt ever. I mean it's made up entirely of center squares and strips... talk about the perfect design for a jelly roll. Or the perfect stash buster!
Keep in mind that the log cabin design is open to any number of variations. You can follow this tutorial and make little 4'' blocks or get creative and change the size of the center squares, and the size and number of strips. See my wonky Gee's Bend inspired log cabin quilt for an example of just how big and irregular you can be. :)
In addition to cutting dimensions for a 4'' (finished) block, I will also provide dimensions for a 12'' (finished block). If you need to make a different size log cabin block, let me know what size in the comments and I'll do the math for you.
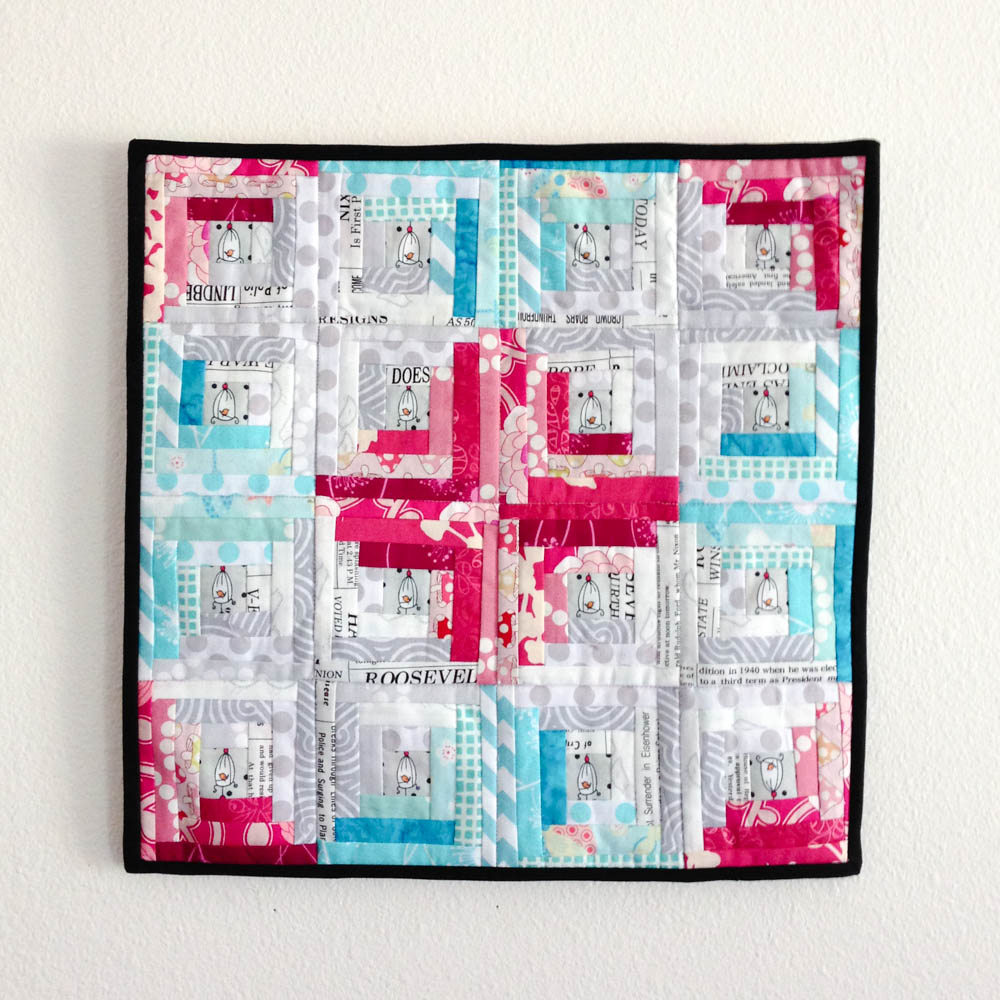
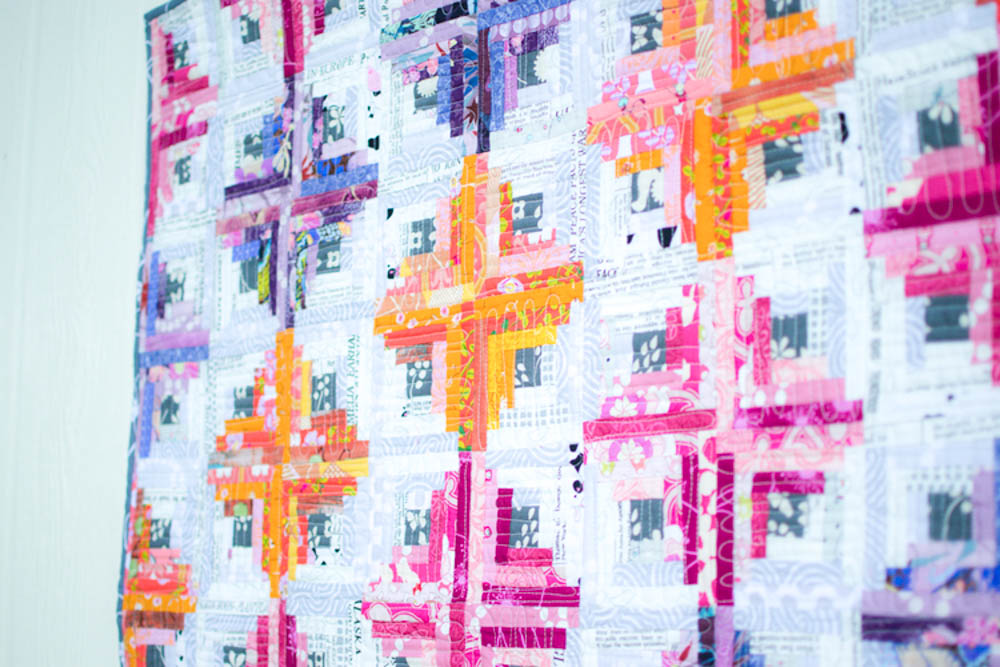
When I was making this modern log cabin quilt (using my favorite combination of bold + neutral low volume fabrics), I started out by making a 12'' log cabin mini quilt and I LOVED it. Can you see the little bird cages in the center of these log cabin blocks?
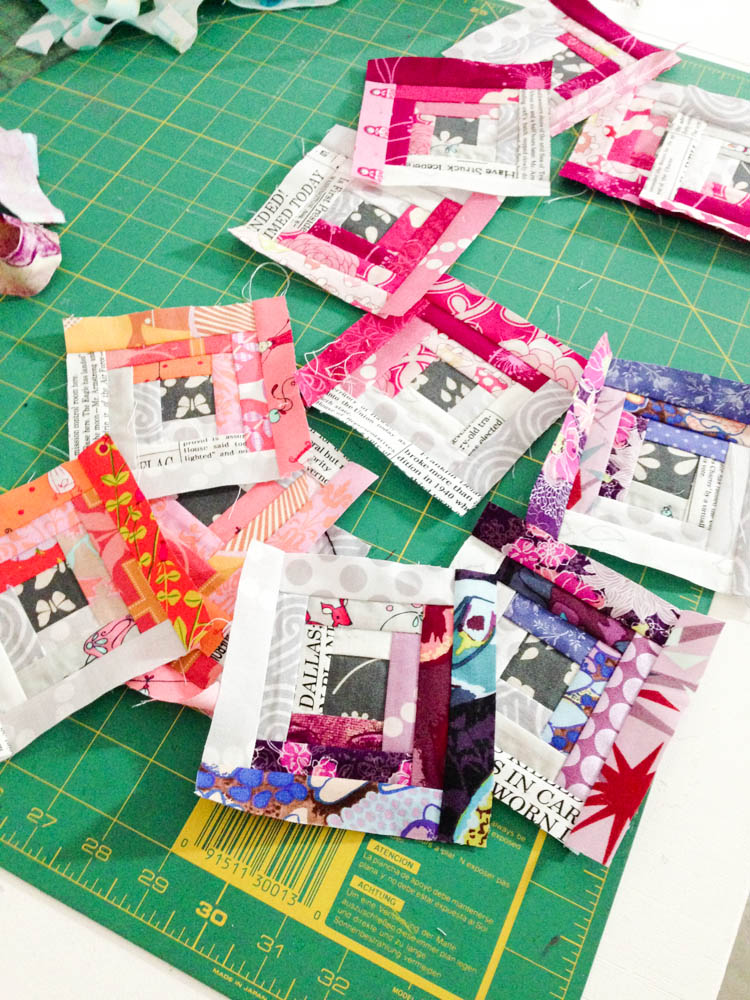
After that, I went to work sewing over 100 more 4'' log cabin blocks. At that time, I didn't know how I would arrange them - but I was enjoying the process so much, that I just kept going.
1. Cutting:
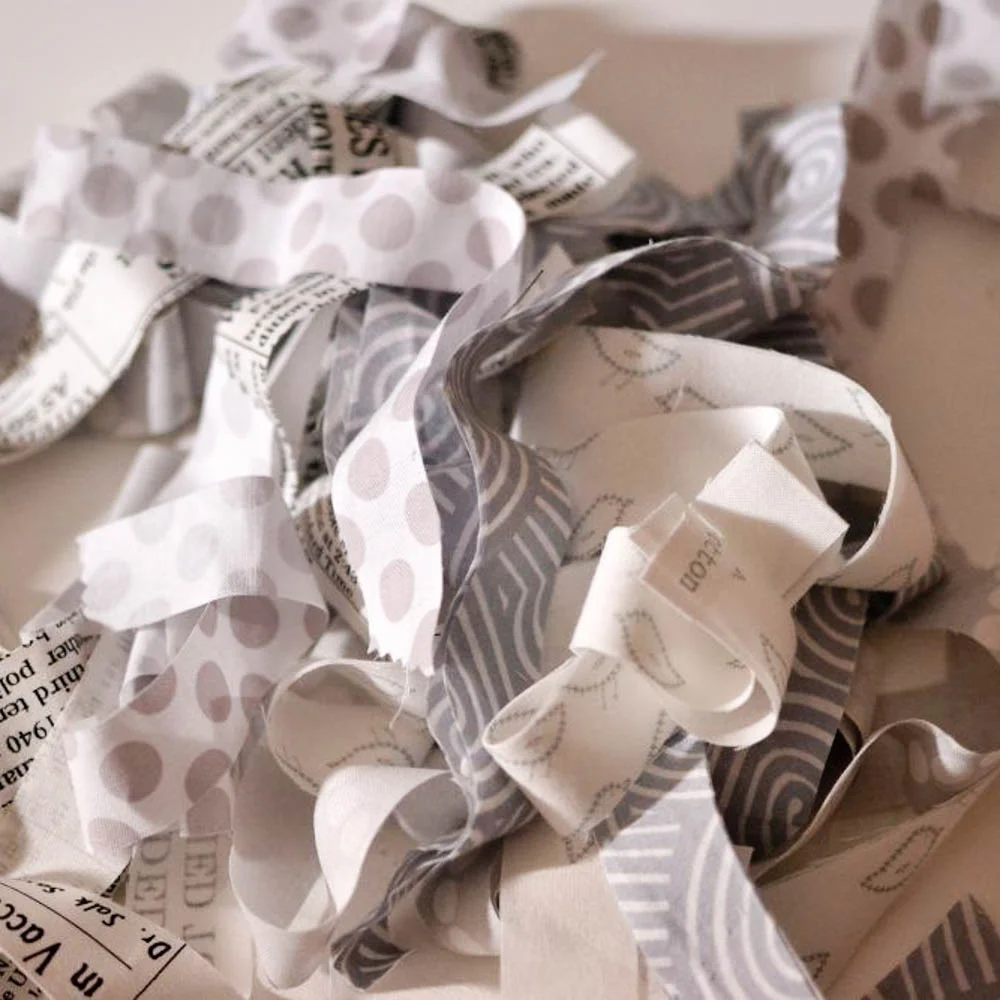
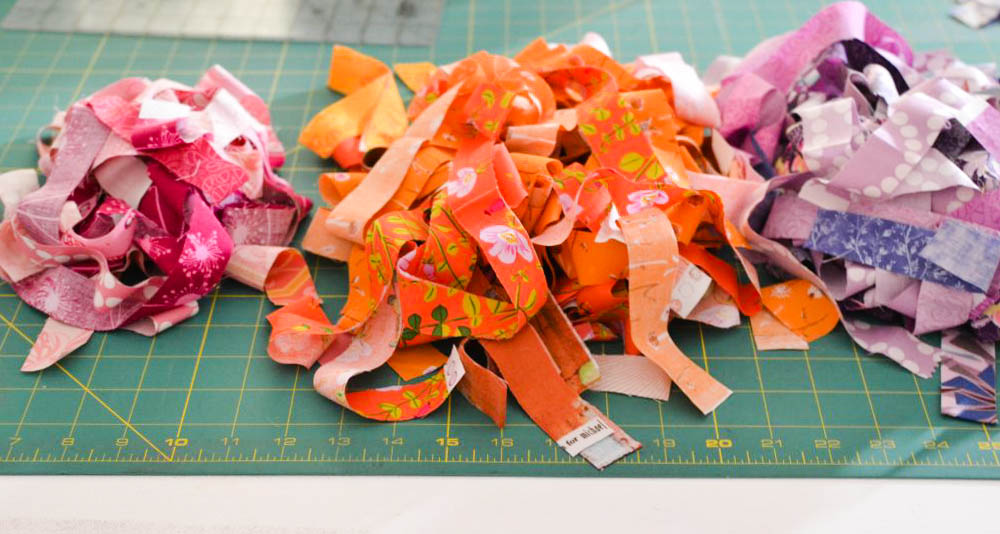
My log cabin blocks are sewn from strips of gray and white low volume strips, plus bold fuchsia, orange, and purple strips too. I chose a small dark gray fabric for my center squares on the bigger quilt. As you can see, I was pulling coordinating fabrics from all over my stash, not just prints from the same collections. See my tips for choosing fabrics for a low volume quilt here.
For 4'' (finished) log cabin blocks like mine, cut 1 1/2'' center squares and 1'' strips.
For 12'' (finished) log cabin blocks, cut 3 1/2'' center squares and 2'' strips.
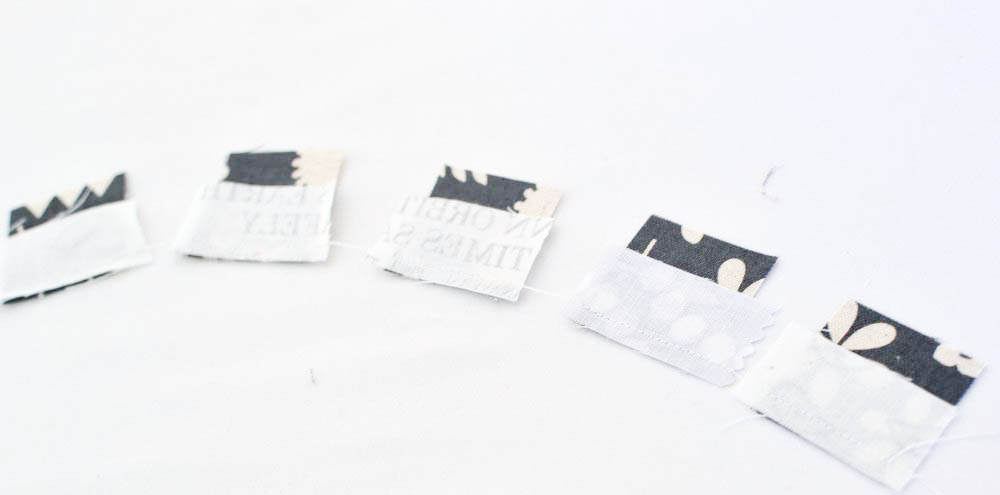
This is the way I cut them: I make a big pile of strips in each color. Then I pick fabric strips as I go, choosing different combinations of fabric for each block, while following the color rules that I've set for myself (i.e., I sew two gray then two color strips going around every block).

2. Sewing:
If you're making a bunch of blocks with the same fabric and color combination, chain piecing is the way to go. It's faster, and you'll actually make fewer mistakes when you repeat each step this way, trust me.
So start with a pile of your center squares on one side of your sewing machine and your strips on the other side. Cut a piece of strip the length of the side of the block (a tad longer is okay because you'll trim it anyway) and sew it on with a scant 1/4'' seam allowance. I LOVE a scant seam allowance - mine is about 3/16''.
When the first center block has one strip sewn to it, immediately sew the next block and strip, and the next, and the next until you have as many as you want of this particular fabric combination.
Now you have a nice little row of squares and strips all 'chained' together with thread.

3. Pressing:
Pressing these pieces is easy. First 'set your seams' by quickly pressing down and up on the seams before you open them.
Then fold back the strip and make a crease with your fingers. If you don't pick up the block, you will be automatically pressing the seam toward the 'log' (what you want to do).
Now press up and down with your iron again... don't rub the iron around the block or you'll distort the shape.
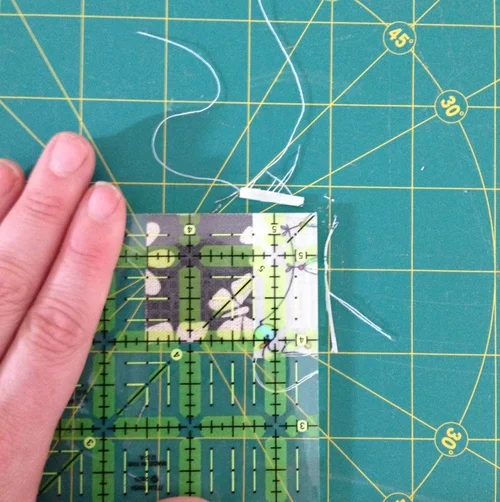
4. Trimming:
Since you sewed your seam with a scant 1/4'' seam allowance, you will be able to trim away a little extra from the top to straighten up your block again.
You should also trim the extra off your side edges too.
After this first trimming, your block will be 1 1/2'' x 2''.
After all of your blocks have been pressed and trimmed, repeat Steps 2-4 to sew more strips on, working around each block. I don't measure the length of each log before I cut it, I simply cut a strip that's a bit longer than the side I will sew it to. Then I trim the sides down later.
Important: Sew new strips on in the same direction (clockwise or counter-clockwise) for all of your blocks.

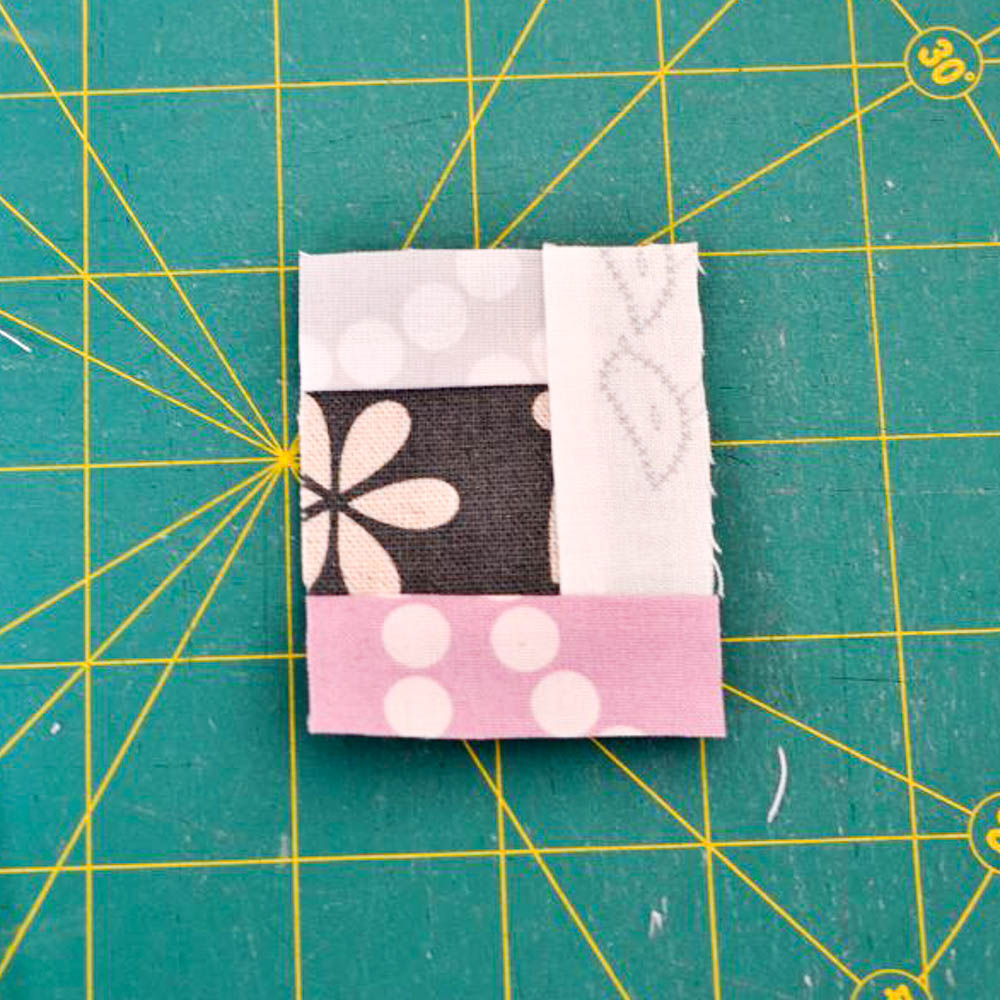
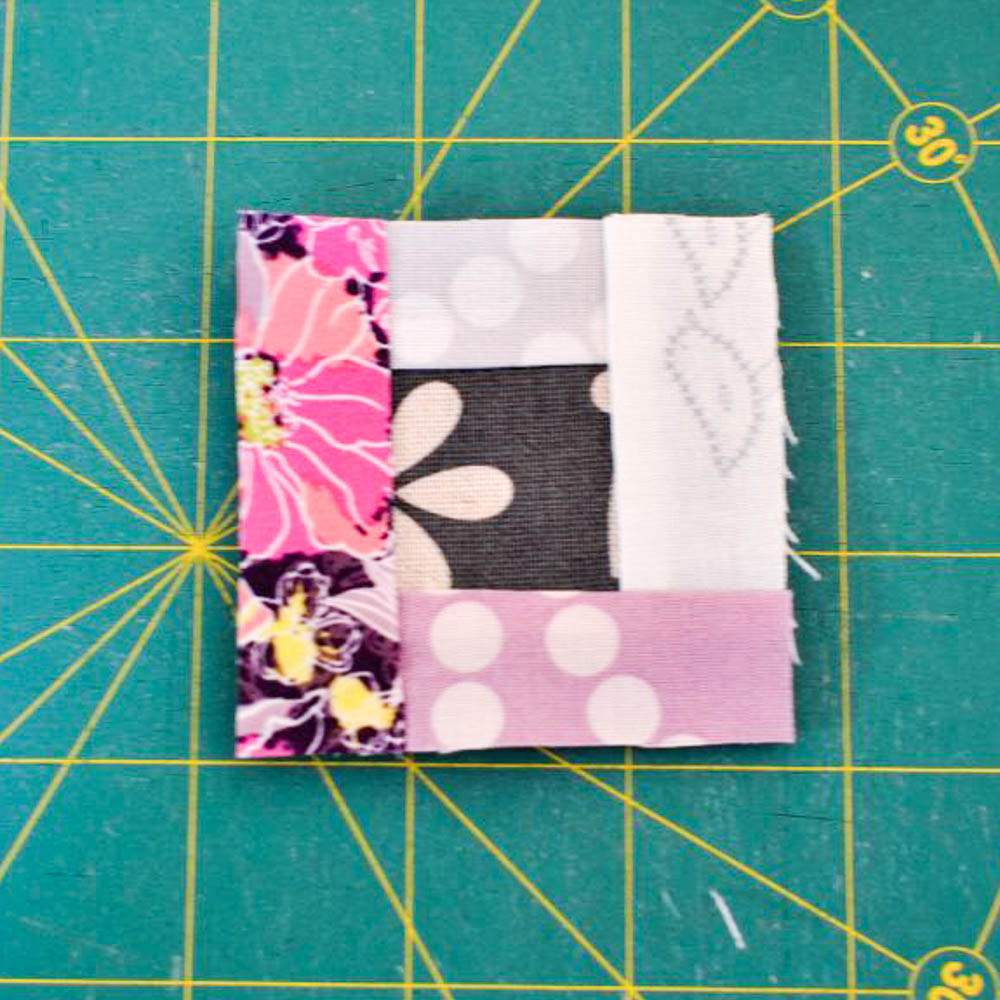
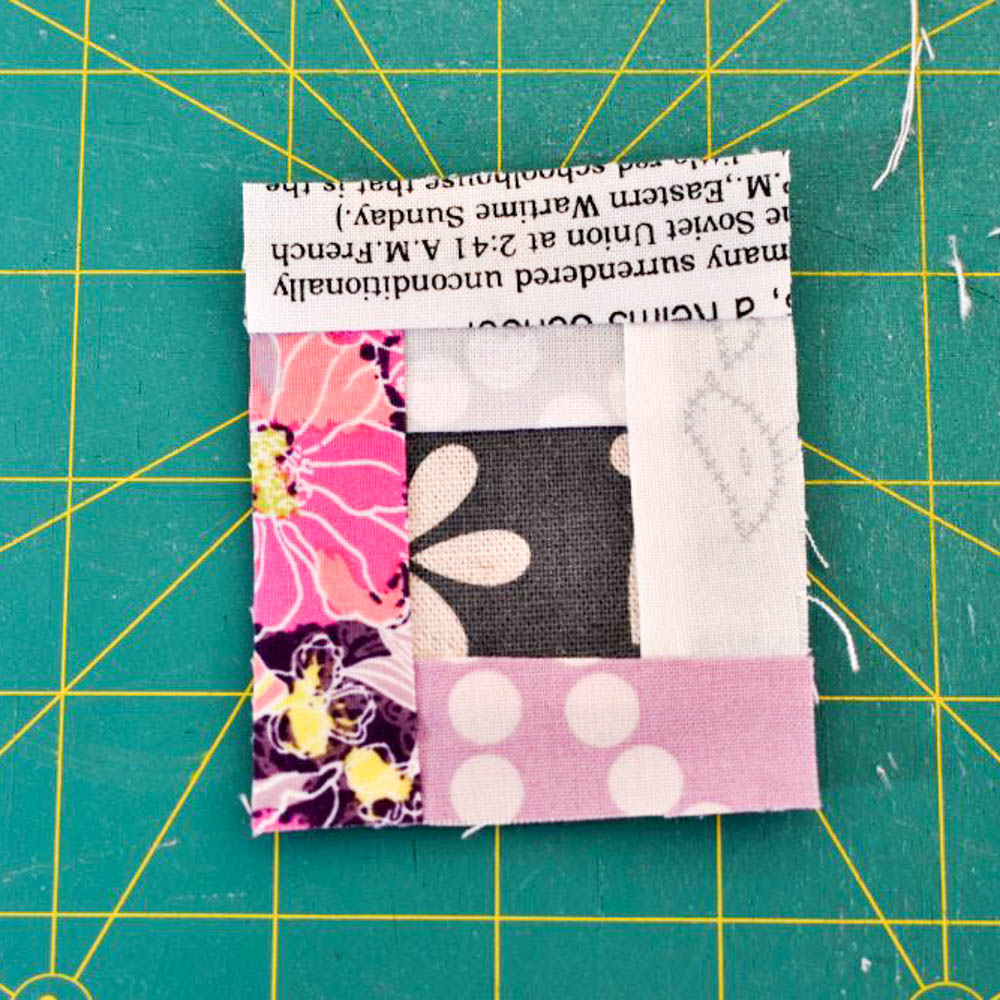
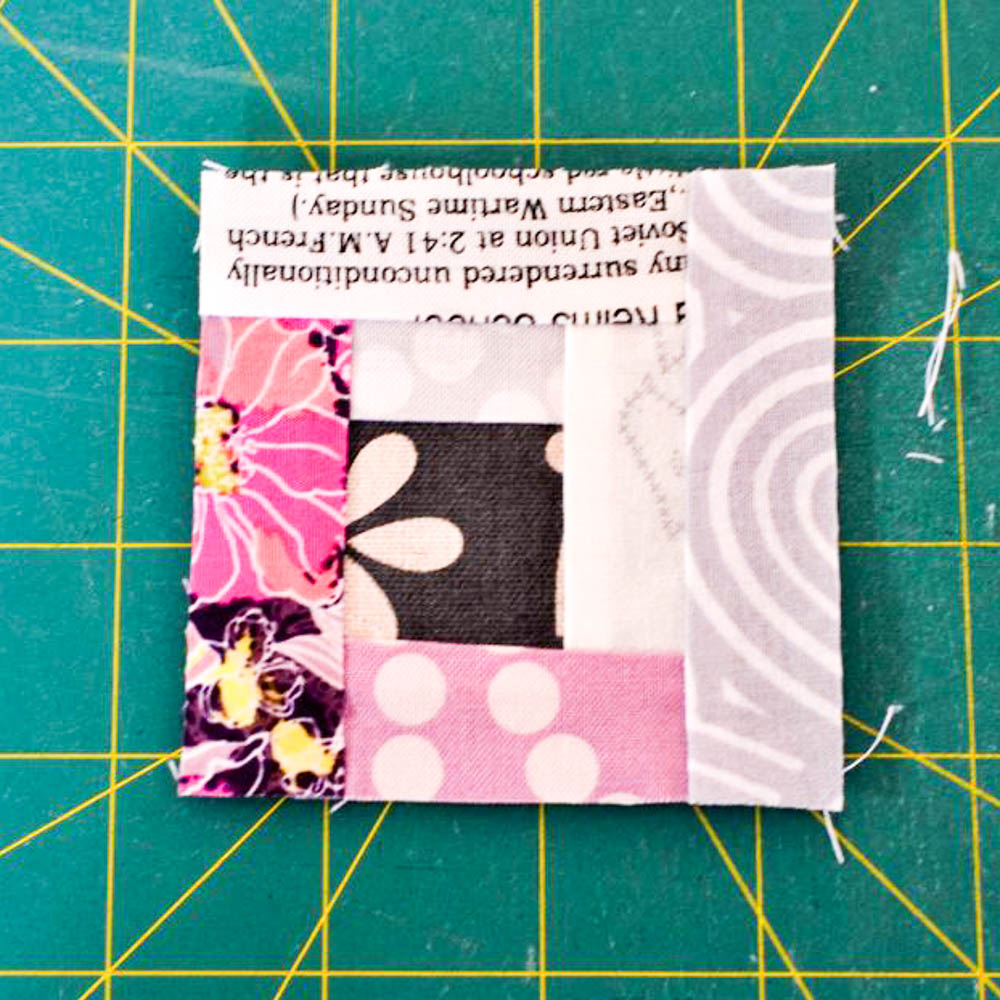
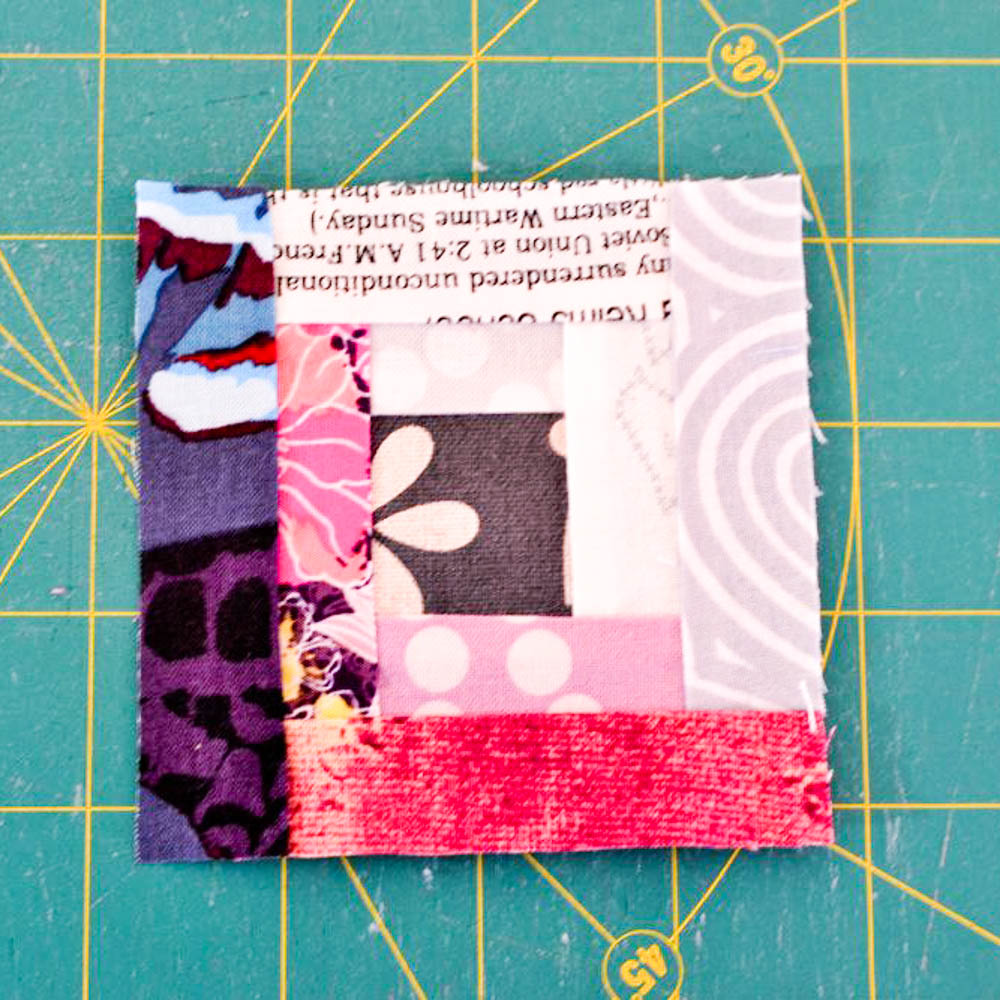
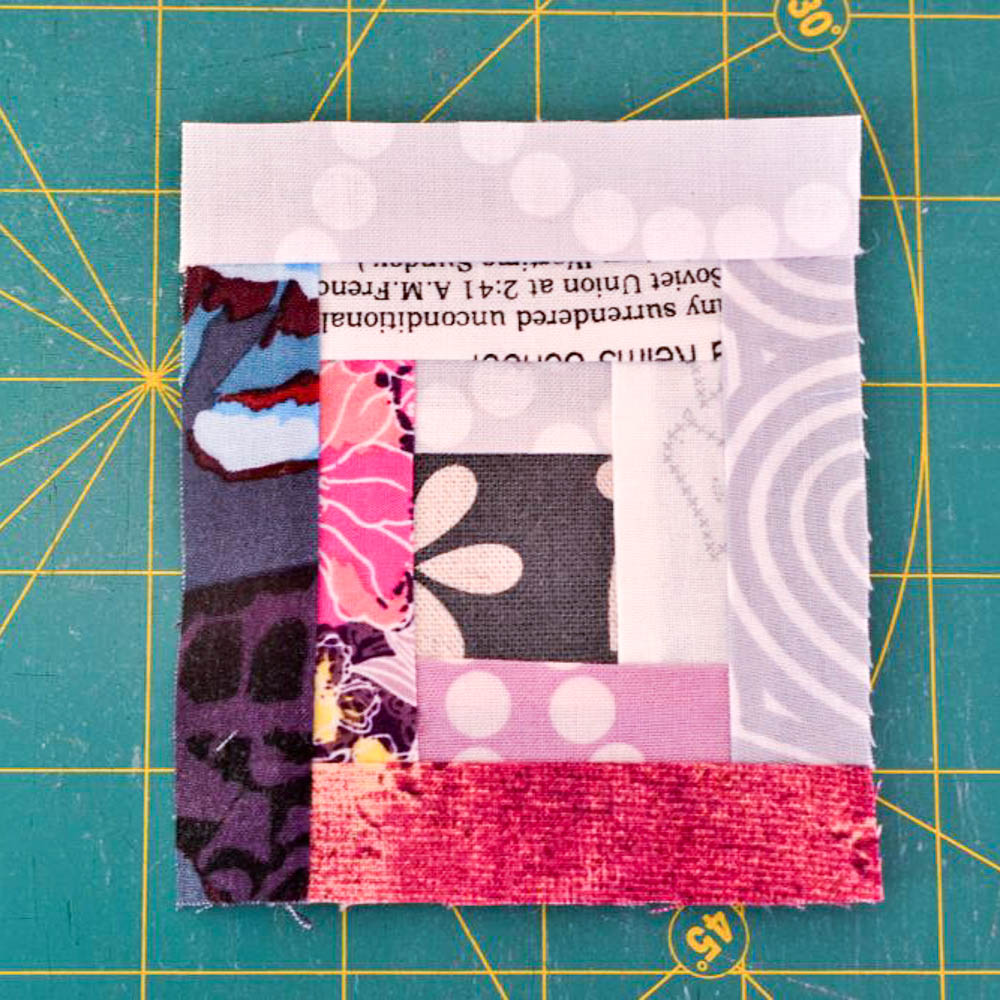
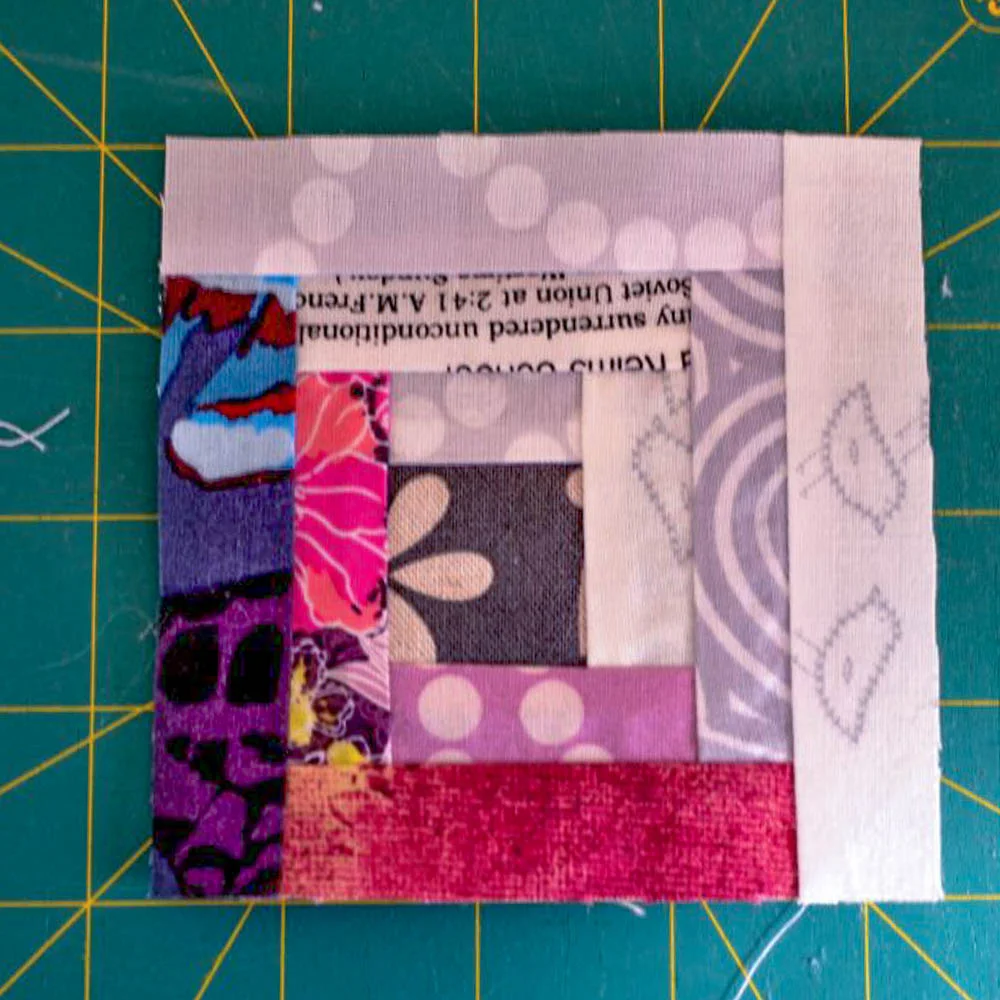
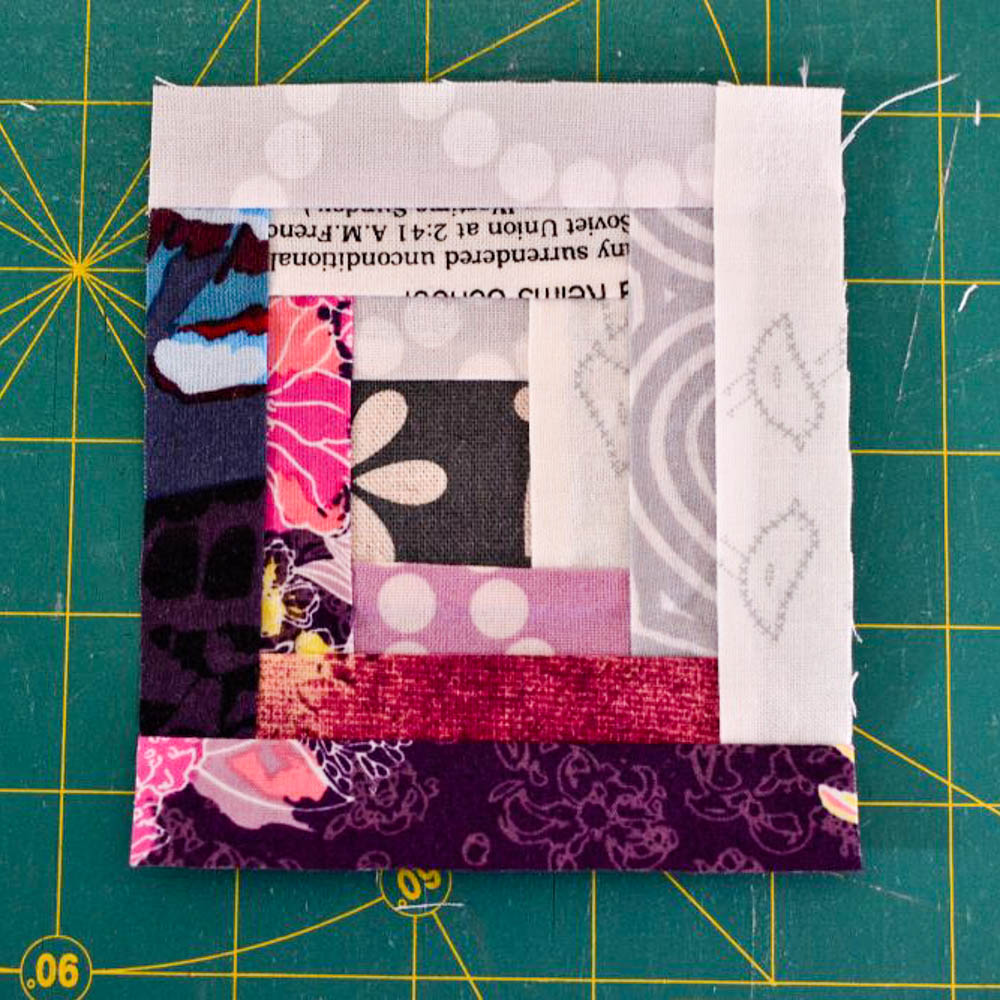
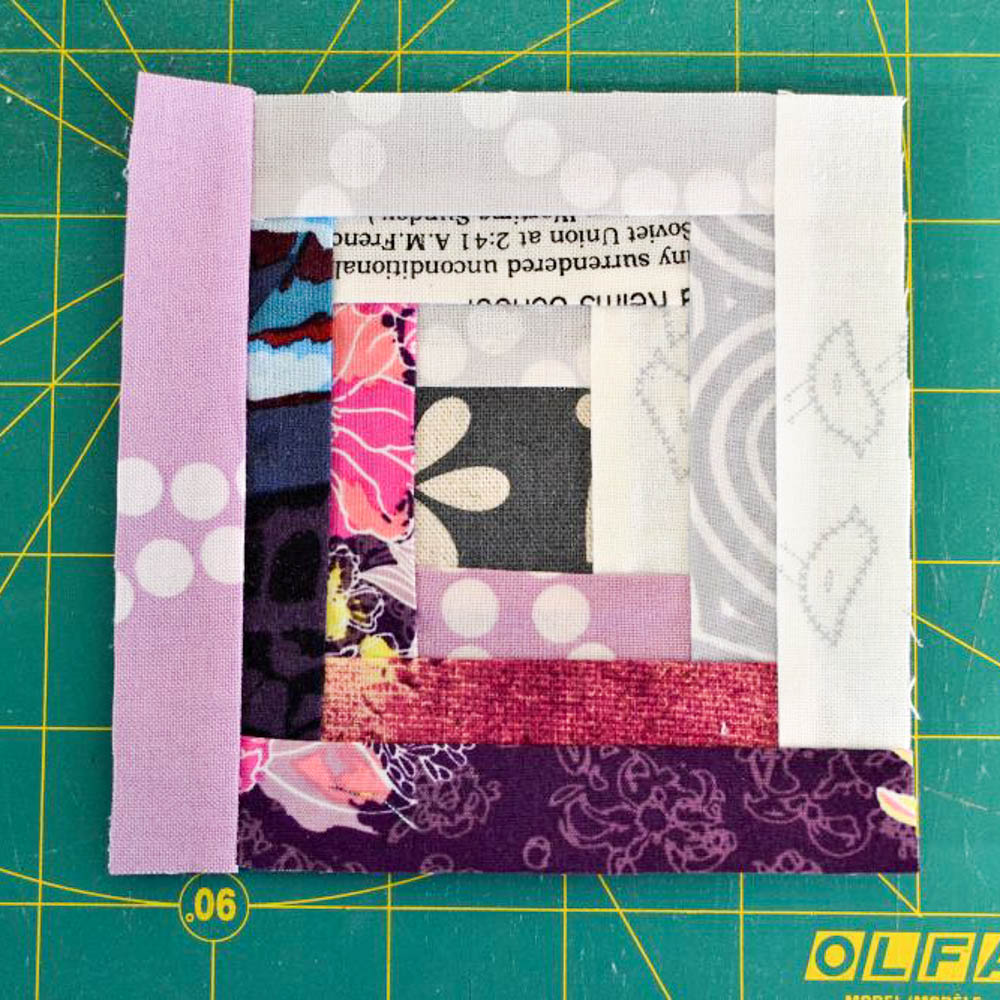
Here's a little slide show of one block being made from start to finish.
The first time you trim up your block, it will be 1 1/2'' x 2''. The next time it will be 2'' x 2'', then 2'' x 2 1/2'', etc. One side of the block will increase by 1/2 inch with every strip.
If you want to make a 4'' (finished) log cabin block, stop sewing strips onto the block after 12 strips or when it measures 4 1/2'''.
Of course you don't have to, but trimming or 'squaring up' your block after each strip is sewn will help you fix any variation in your seams at every step.
If you are new to quilting or want a great (and free) refresher course check out this awesome Craftsy class that covers just about everything you might want to know. It is long and moves kind of slow but I have a lot of laundry to fold so I watched it all one week and learned some things that I didn't know I didn't know. :)
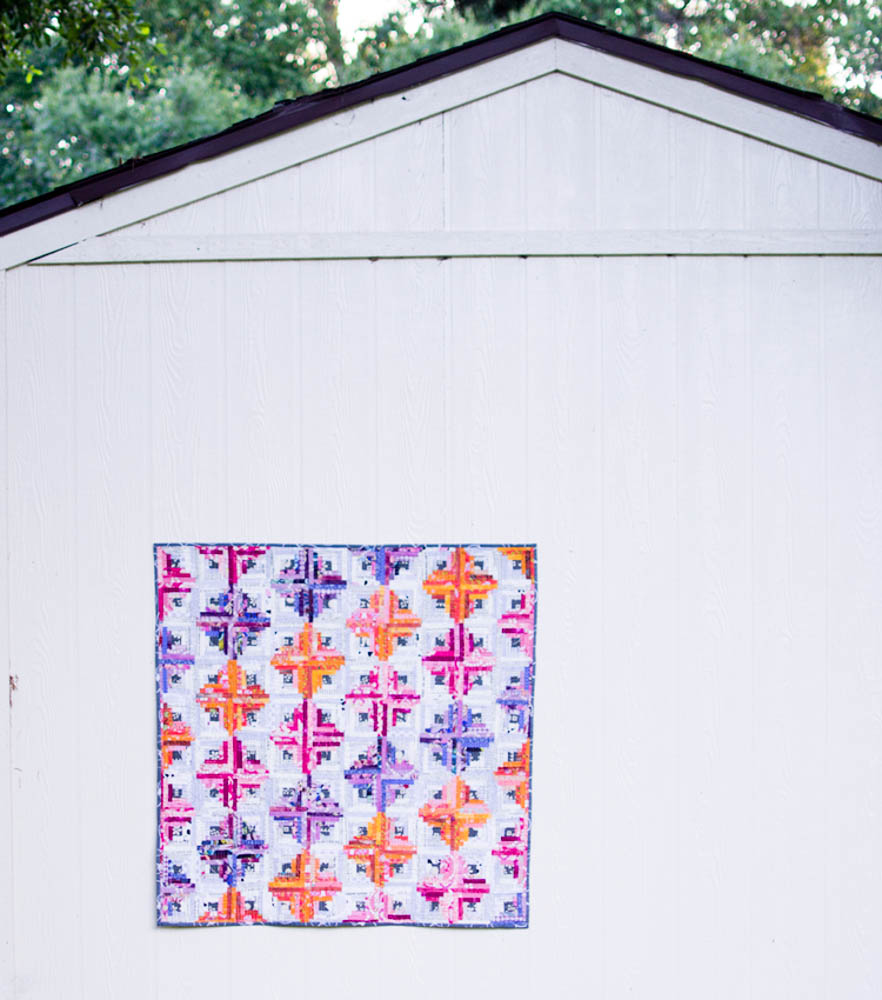
After I sewed all my blocks, I re-arranged them 100 times before I decided to sew them together like this - with jewel toned diamond shapes and diagonal zig zags running up and down. Here’s one of my failed layouts, that I can finally laugh about!
How will you sew your log cabin blocks together? When you are done, take a picture and tag me on instagram @sewcanshe. I'd love to see!
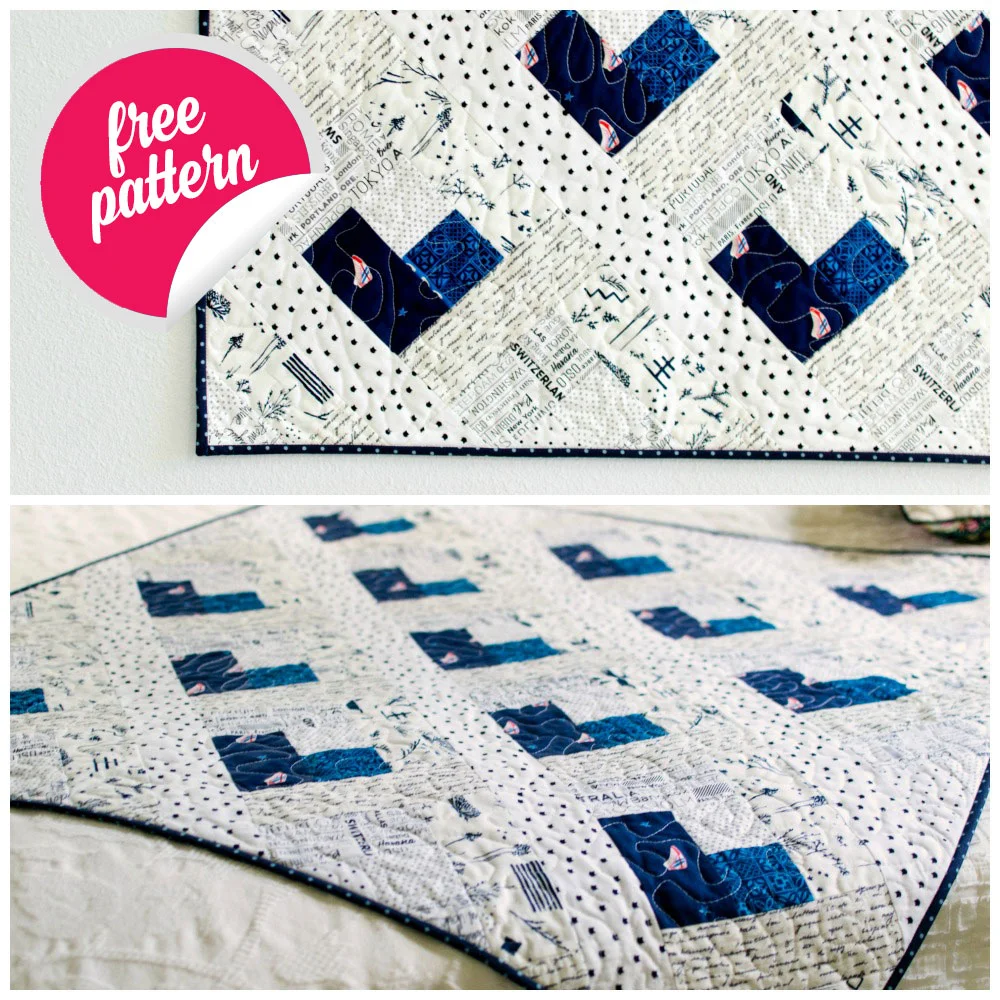
You might also like my free Baby Heart Log Cabin Quilt Pattern. Enjoy!
xoxo,
